Patchstack is WP Umbrella's integrated security solution that provides hardening, malware protection, and vulnerability management for your WordPress site. This guide will walk you through the activation process.
🕒Estimated Time to Complete: 10 minutes
✅Prerequisites: Access to your WordPress admin panel and WP Umbrella account.
If you're using Cloudflare, you'll need to whitelist WP Umbrella's IP addresses before enabling Patchstack to ensure proper communication.
Ensure you have full access to your website's WordPress admin panel. You'll need this to install and activate the Patchstack plugin.
If your site uses Cloudflare, you must whitelist WP Umbrella's IP addresses before enabling Patchstack. Follow our Cloudflare IP Whitelist Guide to complete this step first.
Why? Patchstack communicates with our servers during activation and operation. Without whitelisting, the connection will fail.
Log in to your WordPress admin panel
Navigate to Plugins → Add New
Search for "Patchstack"
Click Install Now on the official Patchstack plugin
Click Activate
Once the plugin is activated in WordPress:
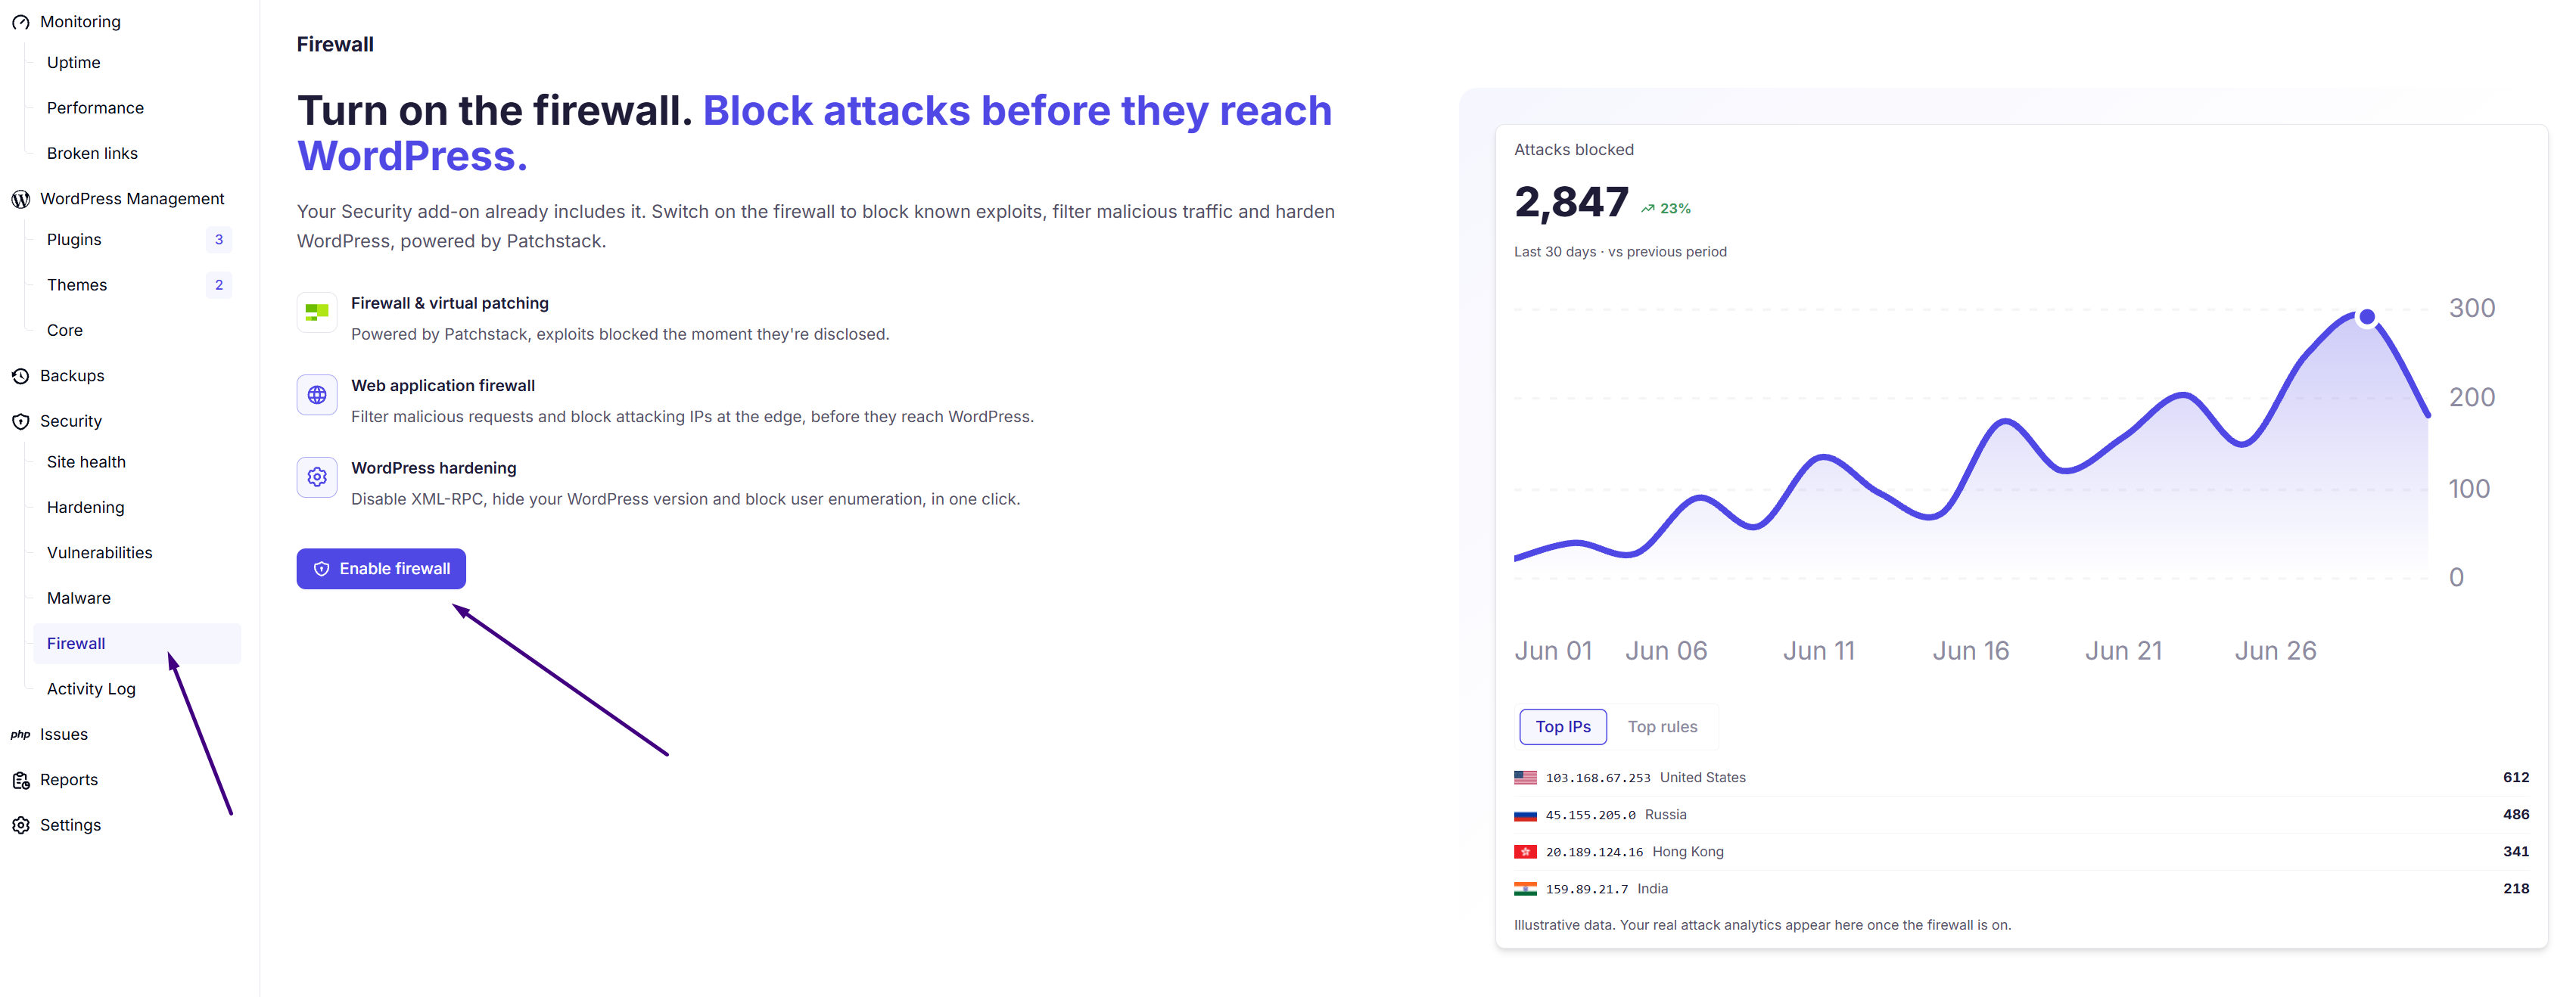
Go to your WP Umbrella dashboard, select your website, navigate to Security section and look for the Firewall tab, click Enable Firewall.
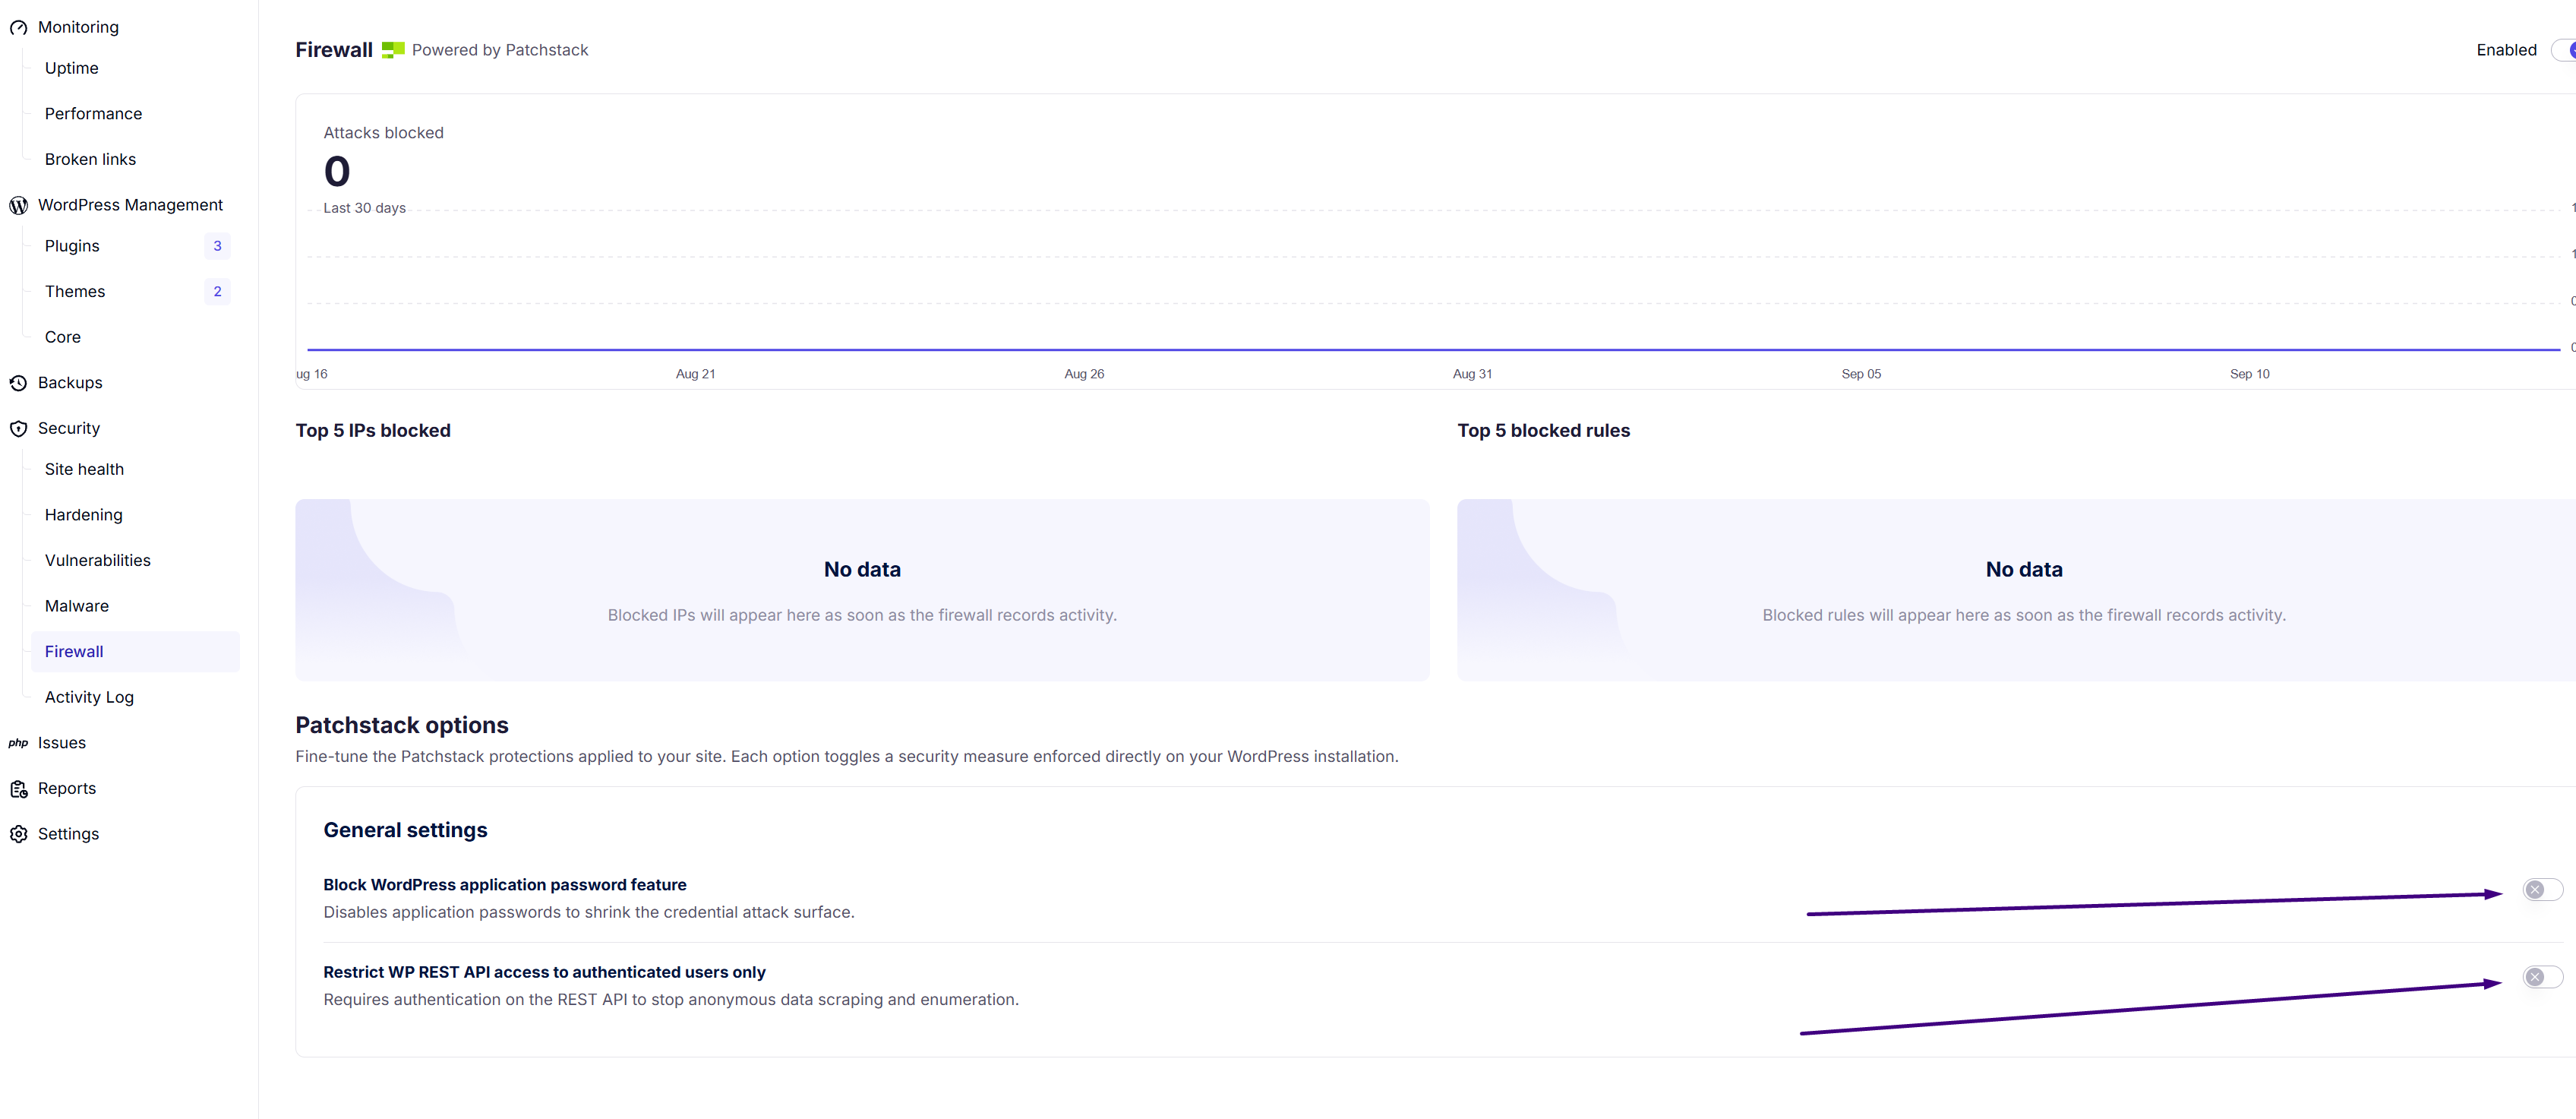
After activation, you can customize your Patchstack settings:
Try these solutions:
Ensure you have sufficient server space (at least 50 MB free)
Check that your hosting provider doesn't block plugin uploads
Try installing via FTP/SFTP as an alternative
Contact your hosting provider if uploads are blocked
This usually means Patchstack can't communicate with its servers:
If you're using Cloudflare, whitelist WP Umbrella's IPs (see Step 2)
Check if your hosting provider has a firewall blocking outbound connections
Temporarily disable other security plugins and try again
Wait 5-10 minutes and retry (servers may need time to sync)
Congratulations! 🎉 You've successfully activated Patchstack and enhanced your website's security with WP Umbrella's integrated protection system.
Patchstack will now monitor your site for vulnerabilities, protect against common attacks, and maintain your security hardening settings automatically.
For more information on Patchstack features and best practices, check out our Security Guide. If you encounter any issues, don't hesitate to reach out to our support team.
