Labels in WP Umbrella help you organize your websites with custom tags, making it easier to group and filter them based on clients, projects, hosting, or any other criteria you like. It’s especially handy when managing dozens (or hundreds!) of sites.
This guide walks you through adding new labels, assigning them to websites, and using labels to streamline your workflow.
🕒 Estimated Time to Complete: Less than a minute
✅ Prerequisites: An active WP Umbrella account
Log in to your WP Umbrella dashboard.
In the left-hand menu, click on “Labels”.
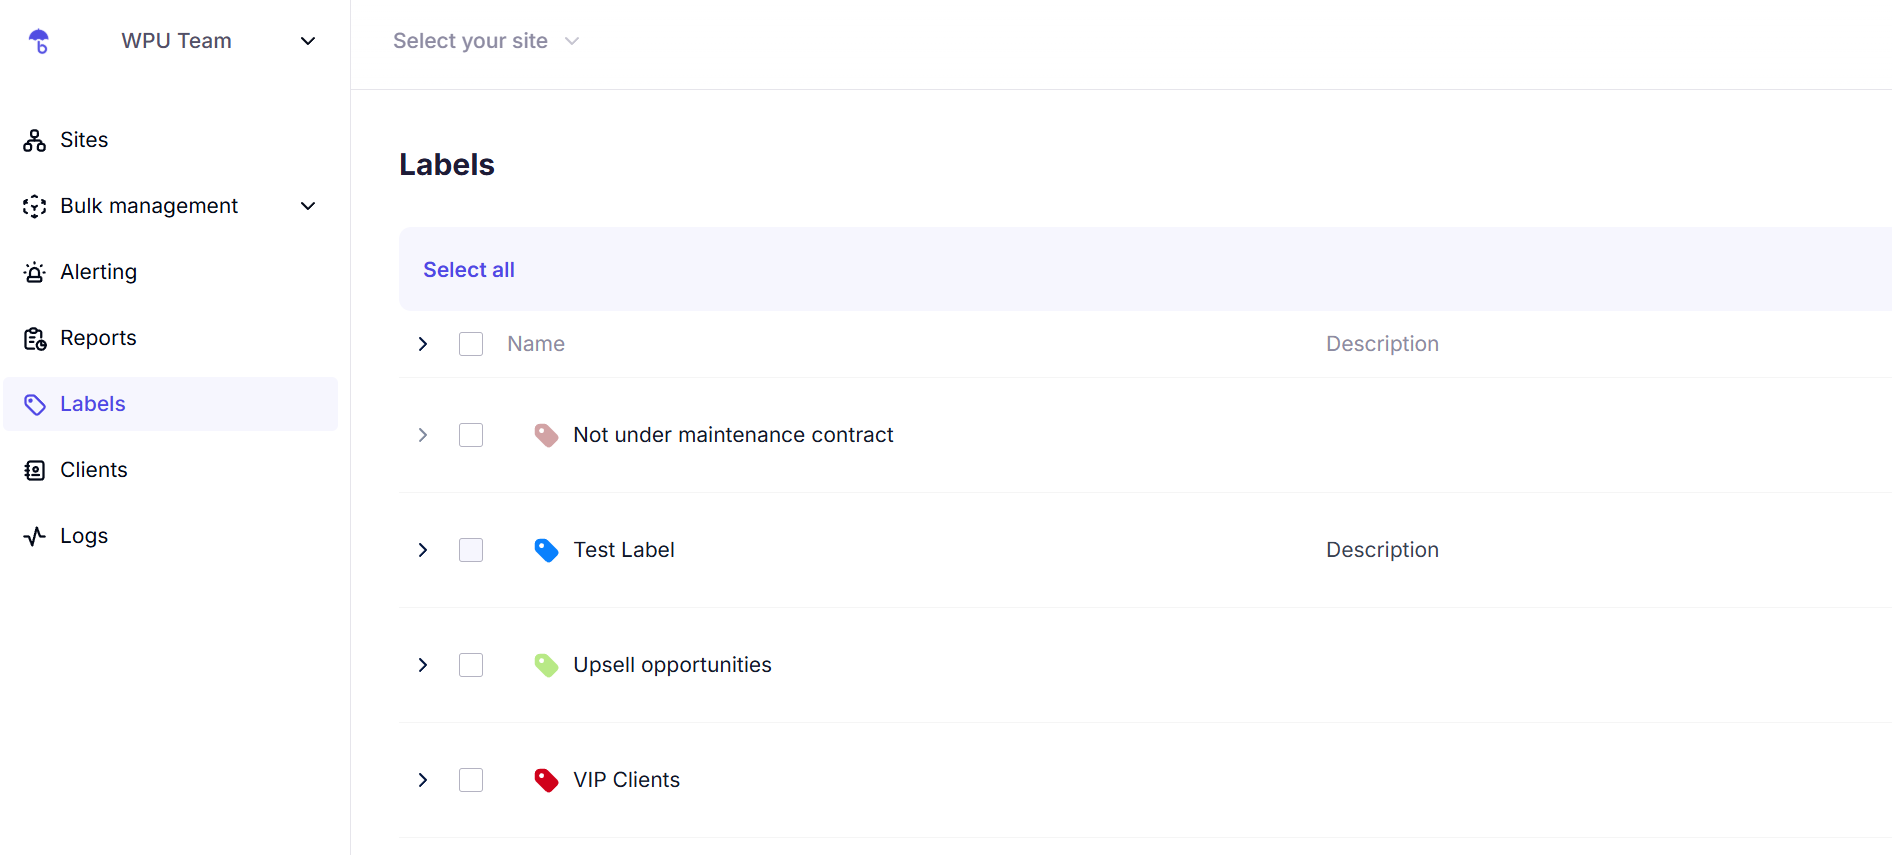
Click on the “+ Add your first Label” button.
Enter your label name (e.g., Client A, WooCommerce, France, etc.).
Pick a color to make it easier to spot at a glance.
Hit “Save.”
On the label you created click ‘Sites’.
Select one or more websites using the checkboxes on the left.
Click on ‘Link to selection’ at the bottom to save it.
Done! 🎉 Your sites are now labeled and easier to filter.
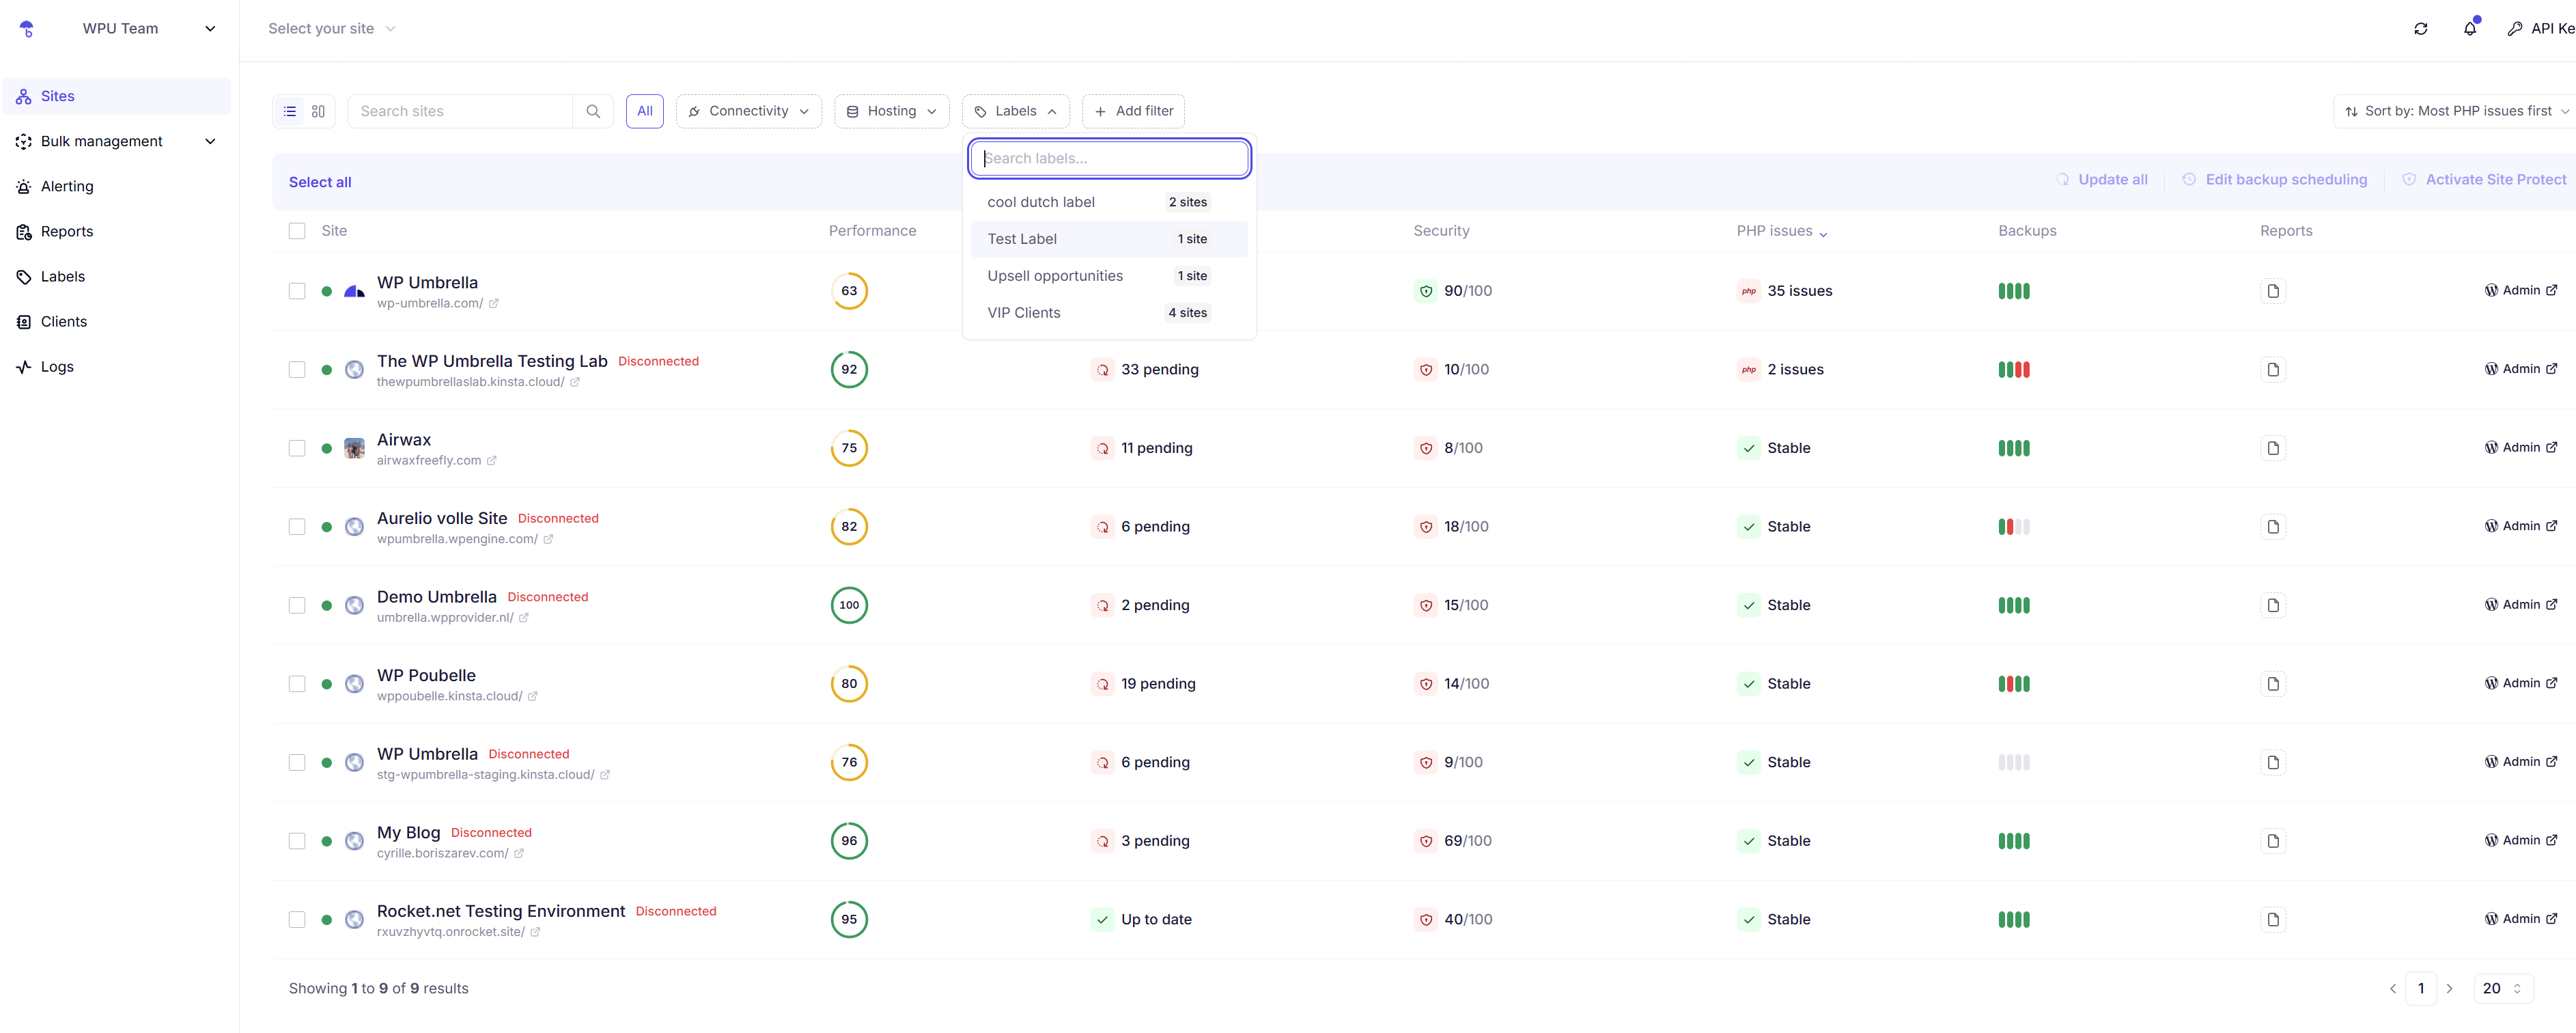
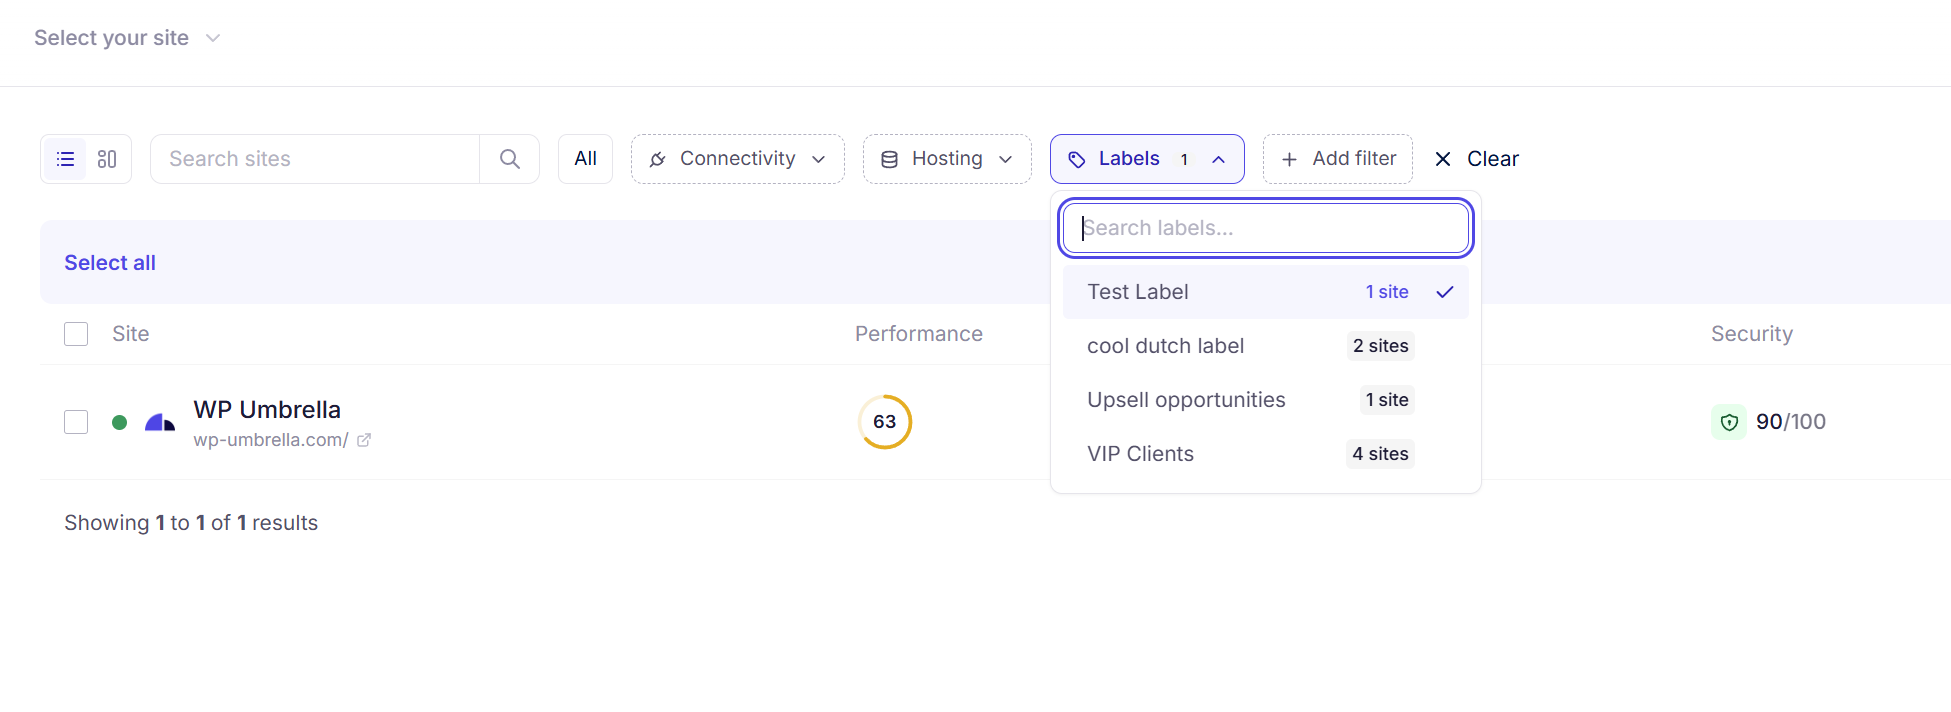
Use the label filter dropdown at the top of the Websites page.
Select one or multiple labels to display only the websites that match.
Make sure you have the correct user permissions. Only admins and team member with admin role can create and manage labels.
Check your internet connection and make sure you’ve given your label a name and color.
Just click on the label icon next to the website, and uncheck the label you want to remove.
Labels are a simple yet powerful way to stay organized in WP Umbrella — especially when working with large teams or managing many websites. Use them to filter websites quickly, assign tasks more efficiently, or simply keep your dashboard tidy.
If you have any questions or need help setting up your labels, don’t hesitate to reach out to our support team via chat! 😊
