With WP Umbrella, you can activate or deactivate plugins directly from your dashboard—saving you time and hassle. Whether you need to troubleshoot an issue or manage site features, this guide will show you how to do it in just a few clicks.
Estimated Time to Complete: 1 to 2 minutes
Prerequisites:
A WP Umbrella account with at least one linked website
WP Umbrella plugin installed on your WordPress sites
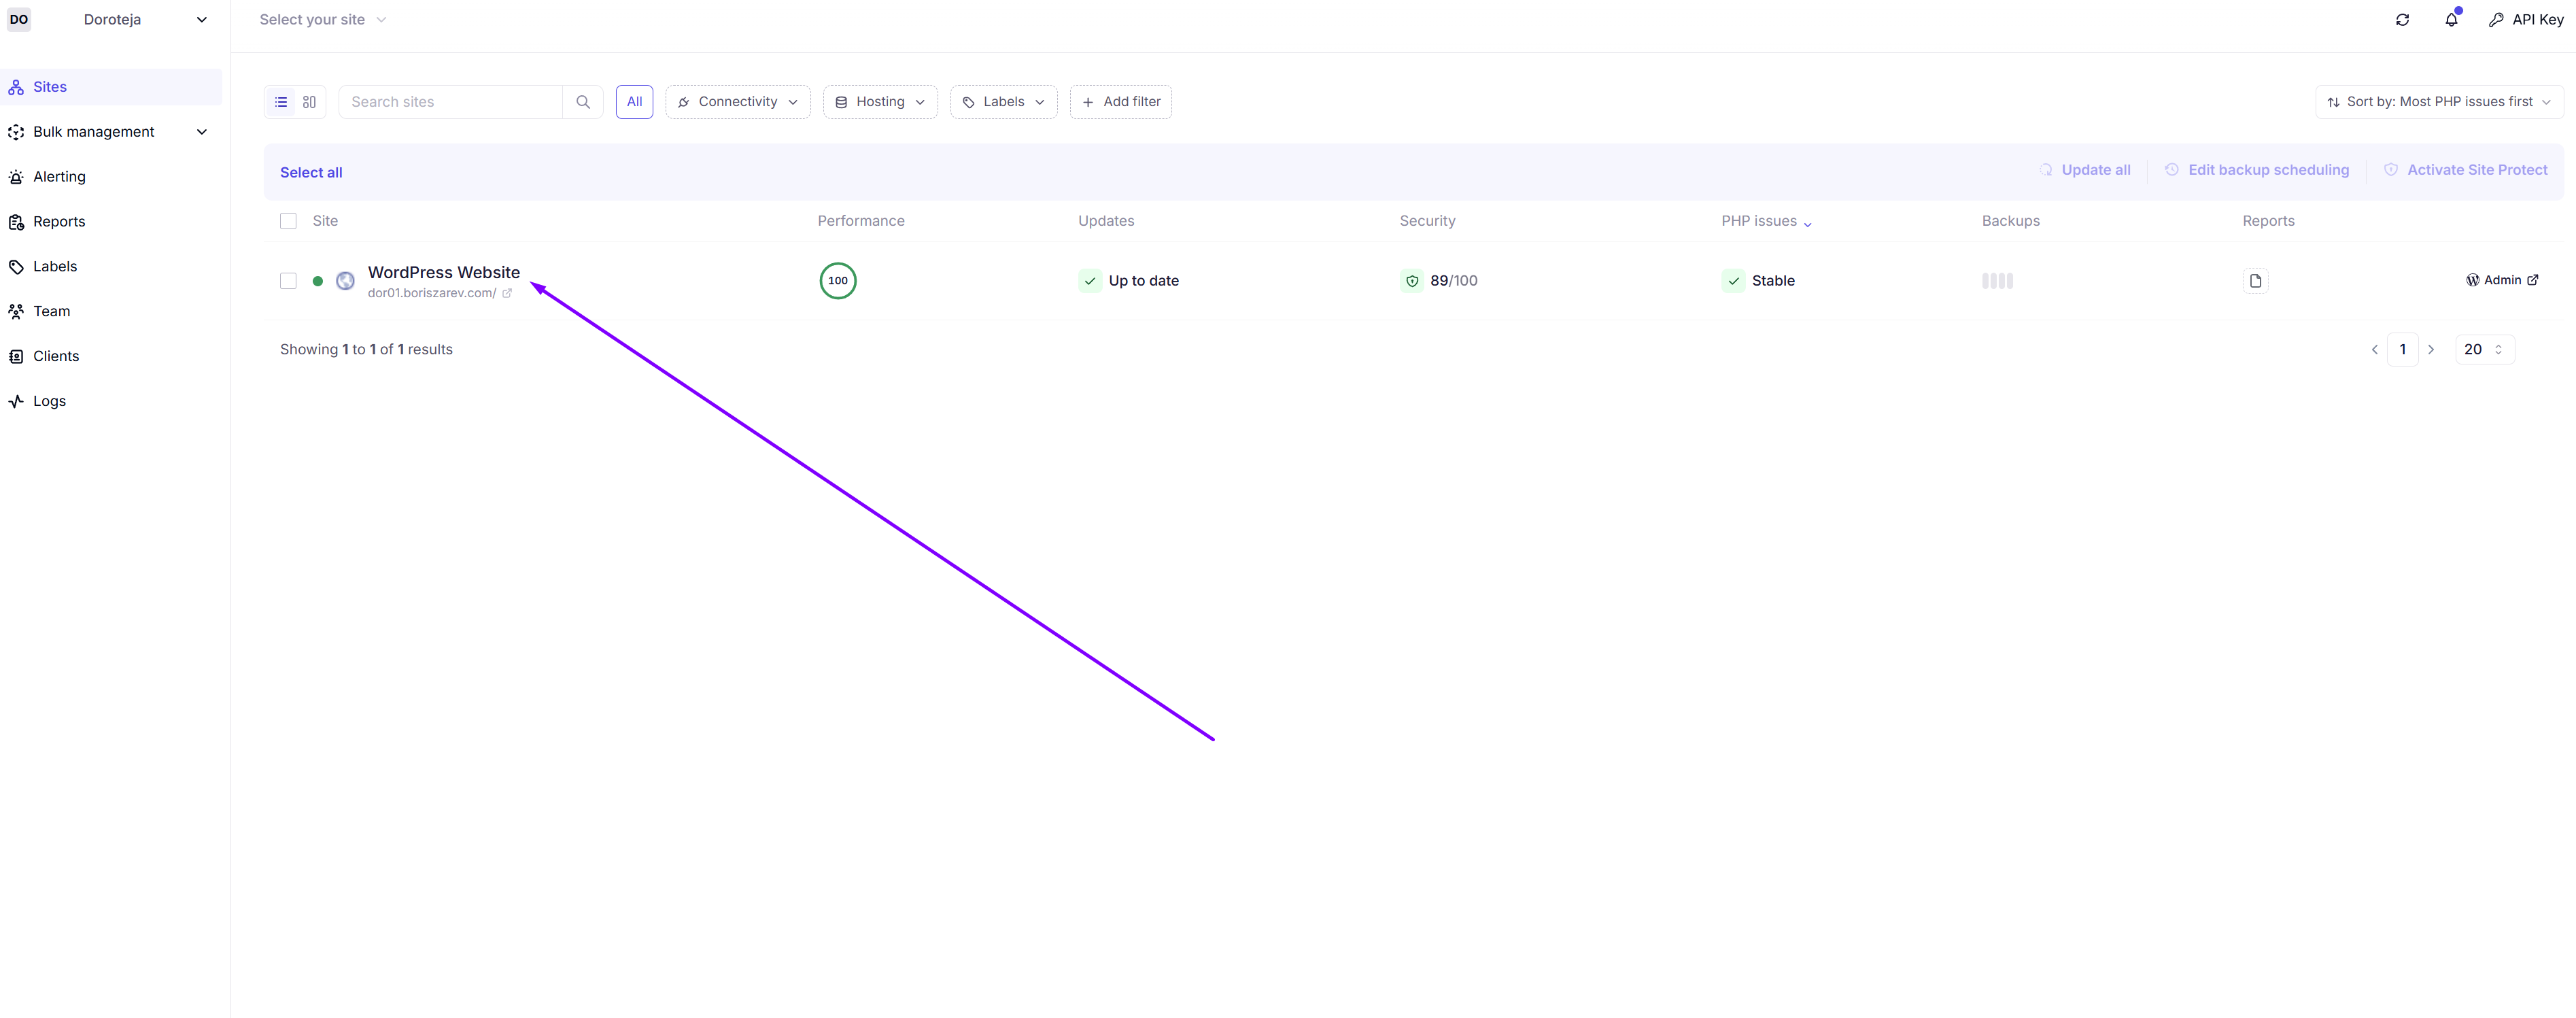
Log in to your WP Umbrella account and click on the project (website) where you want to manage plugins.
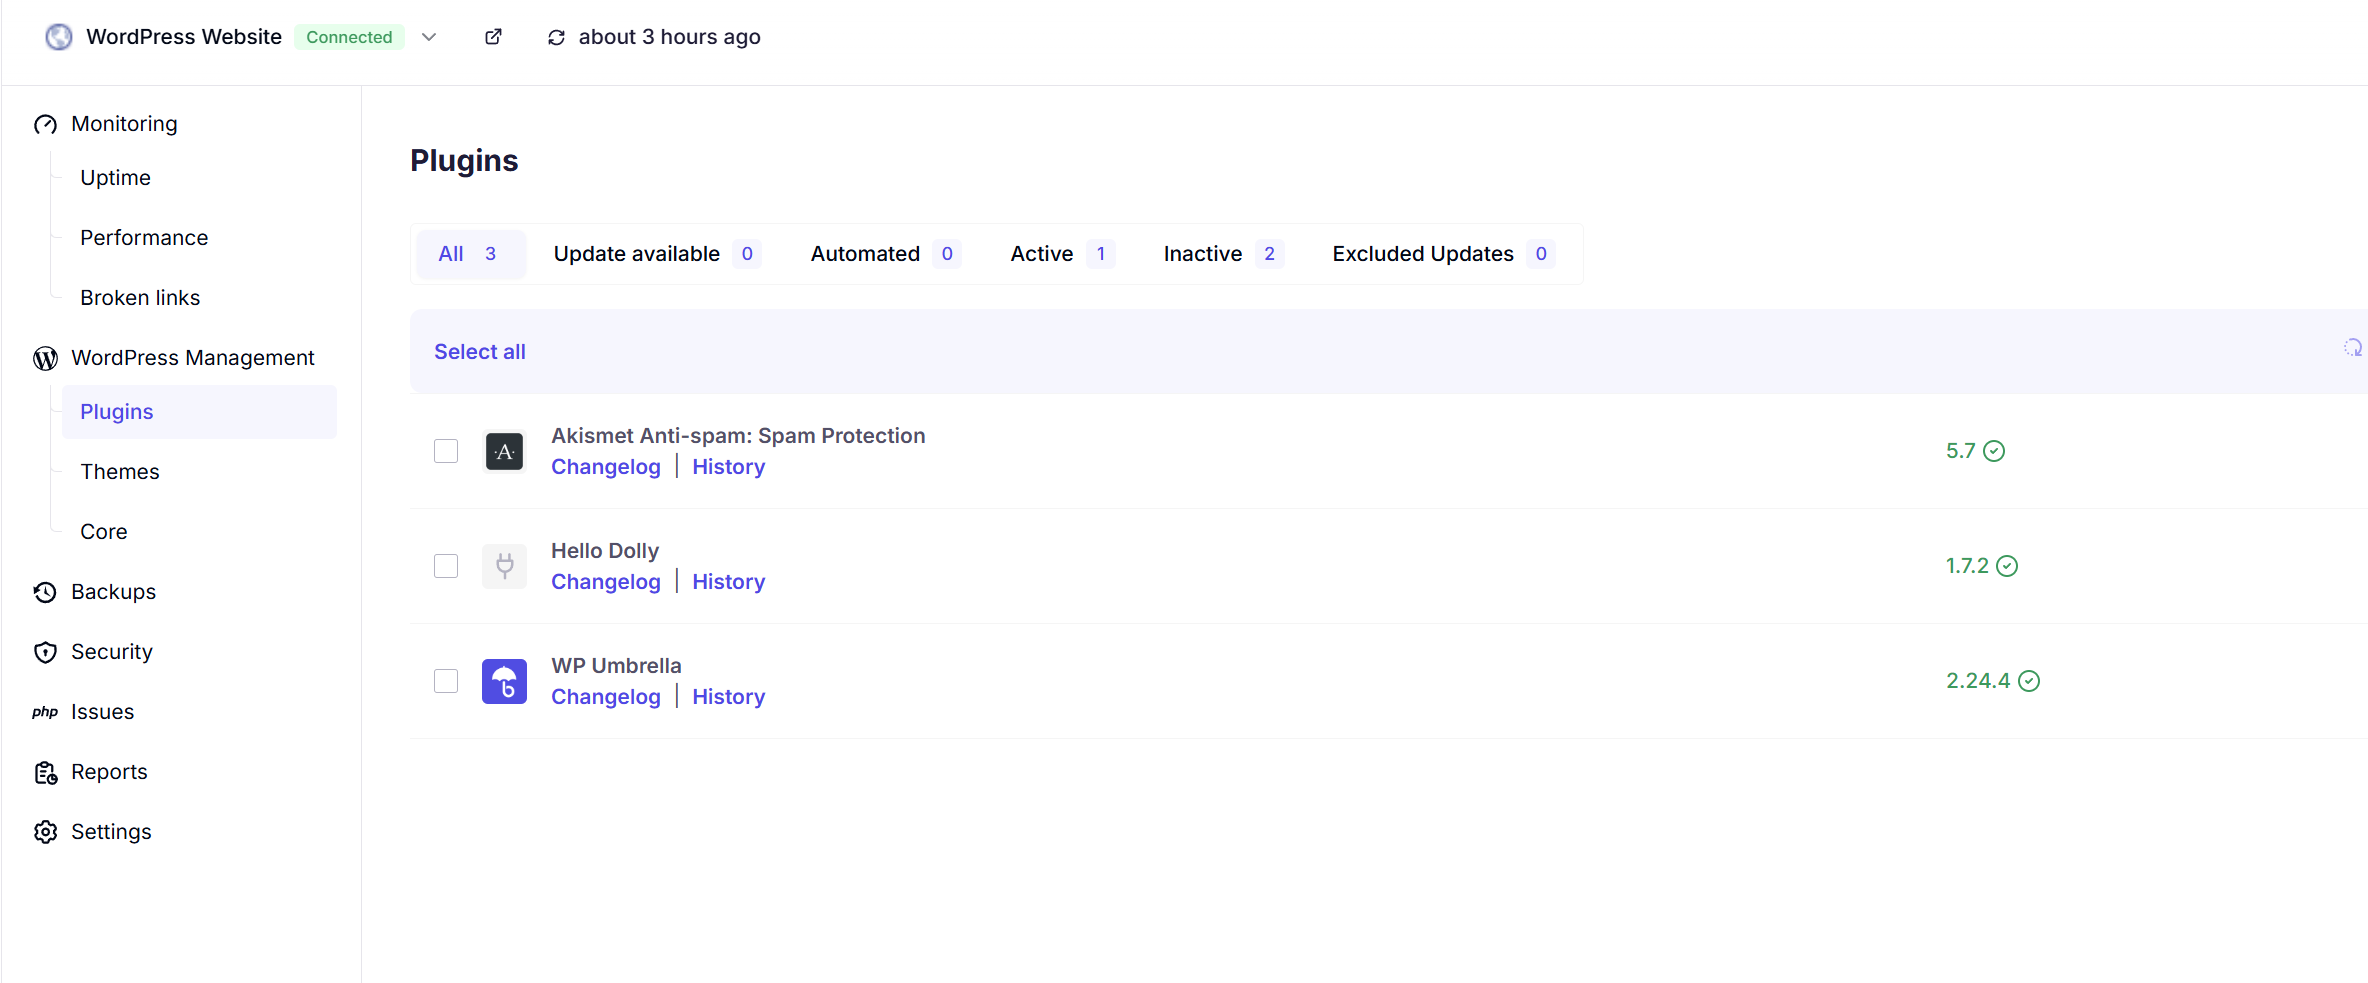
Inside the project, go to WordPress Management → Plugins. Here, you'll see a full list of all installed plugins on that website.
To Deactivate Plugins:
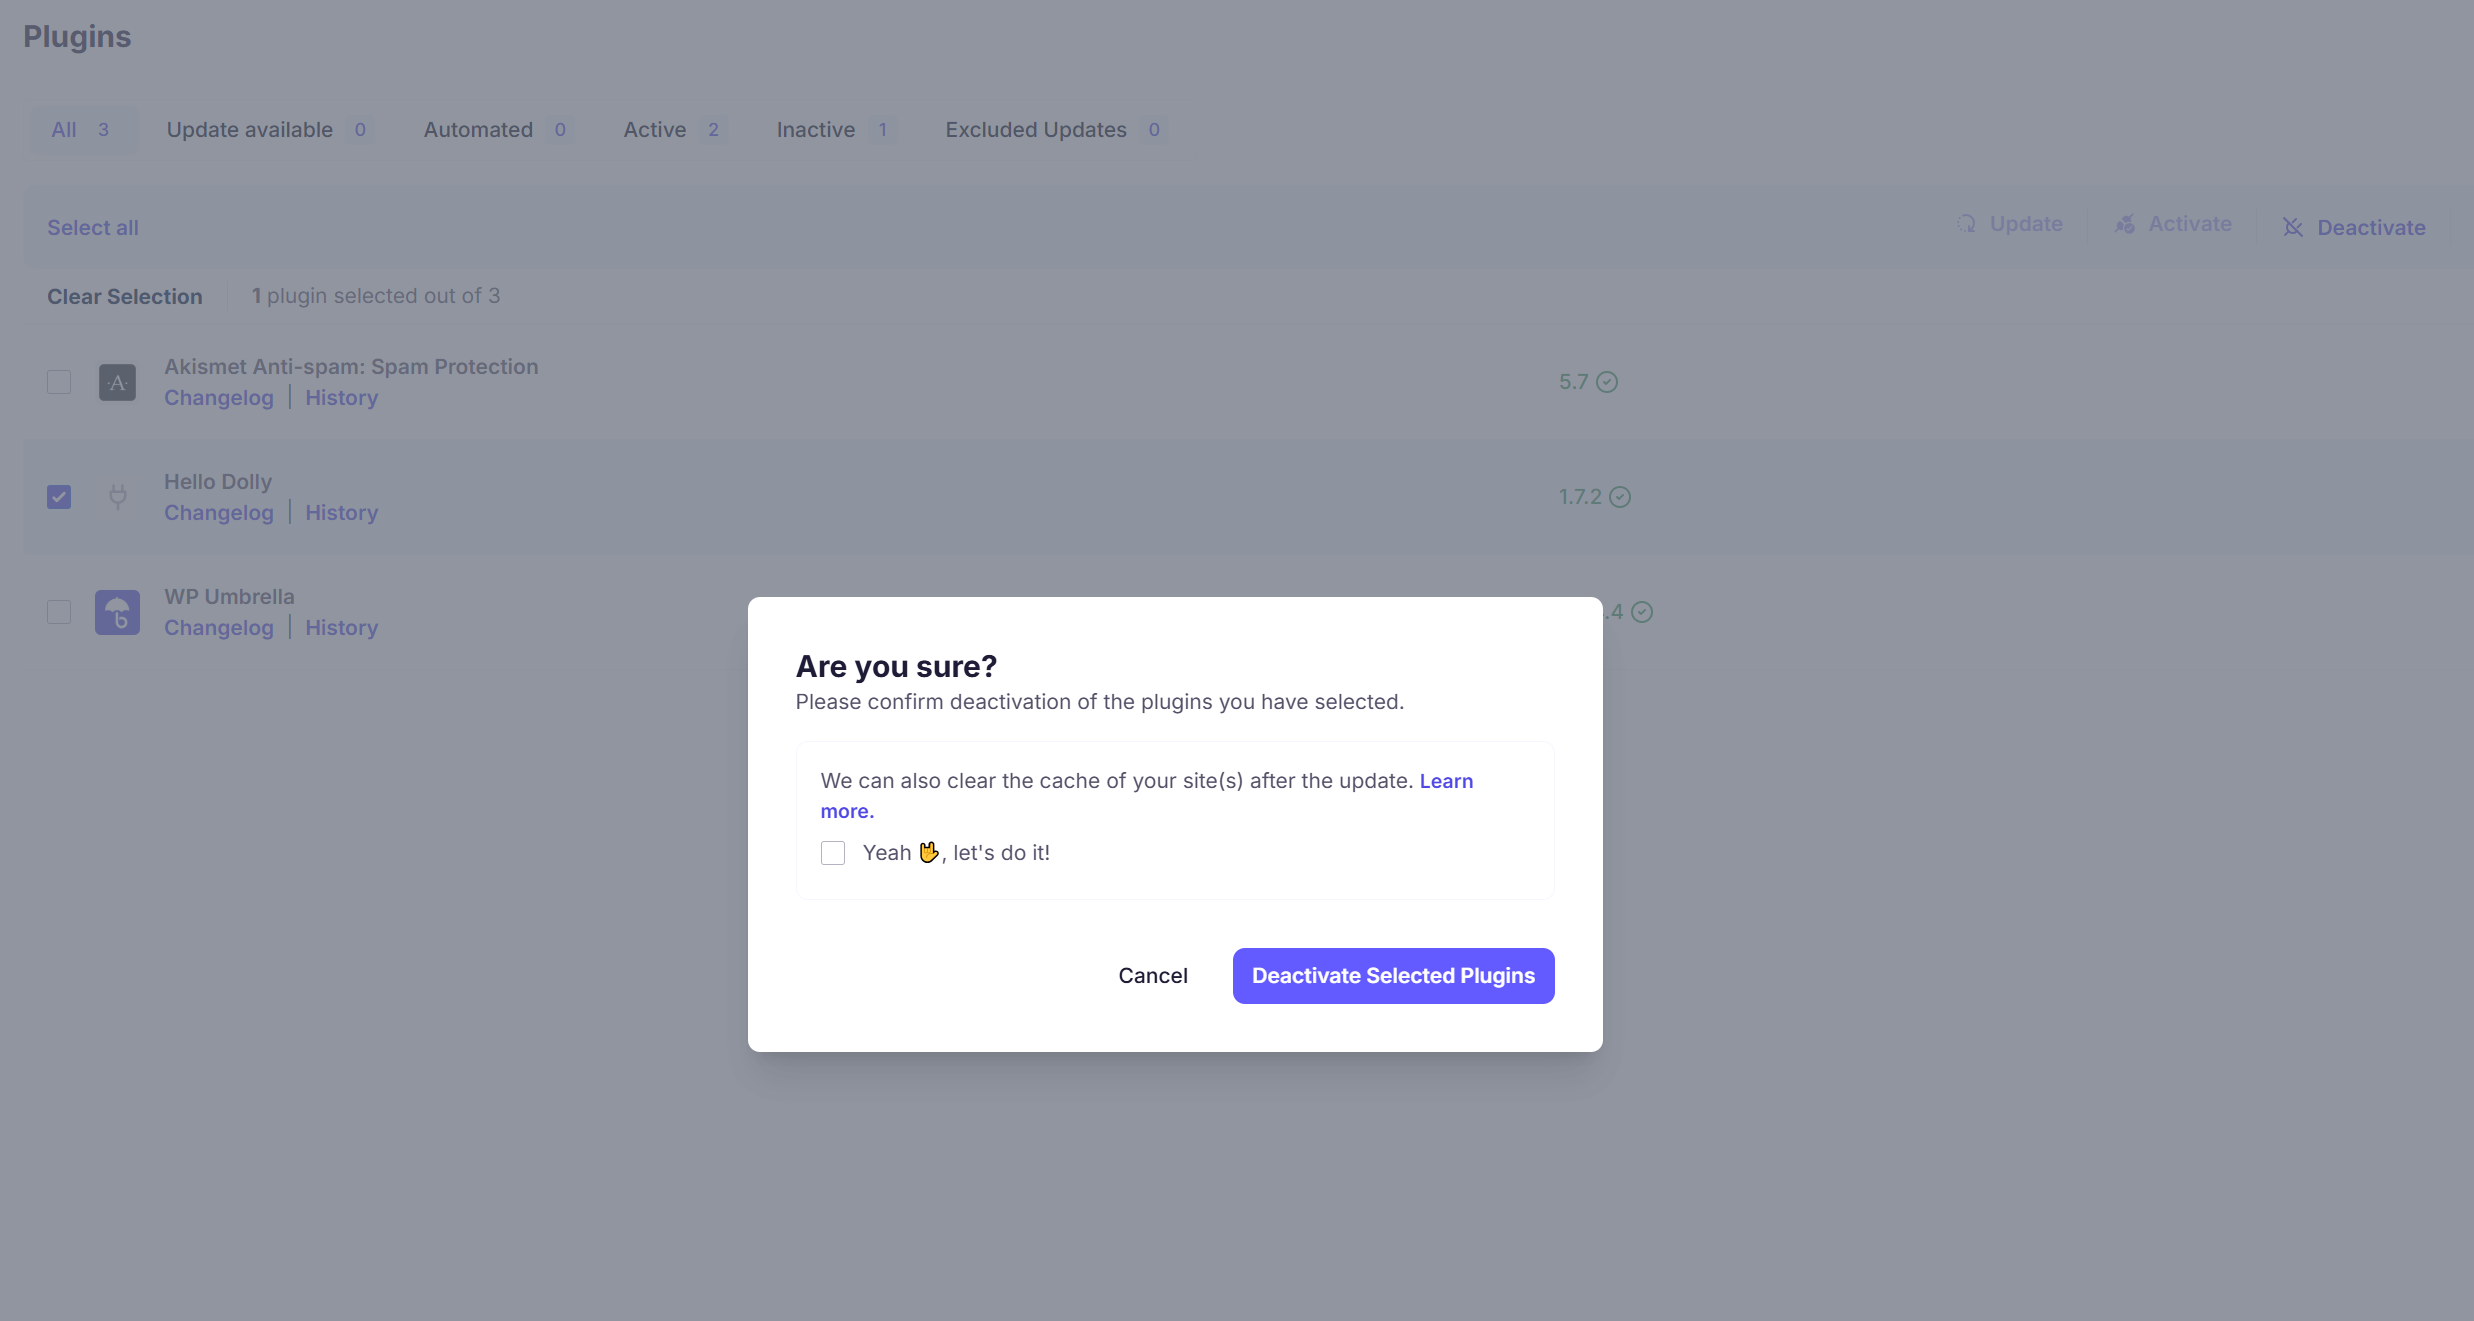
Click Deactivate.

Confirm by clicking Deactivate Plugin.
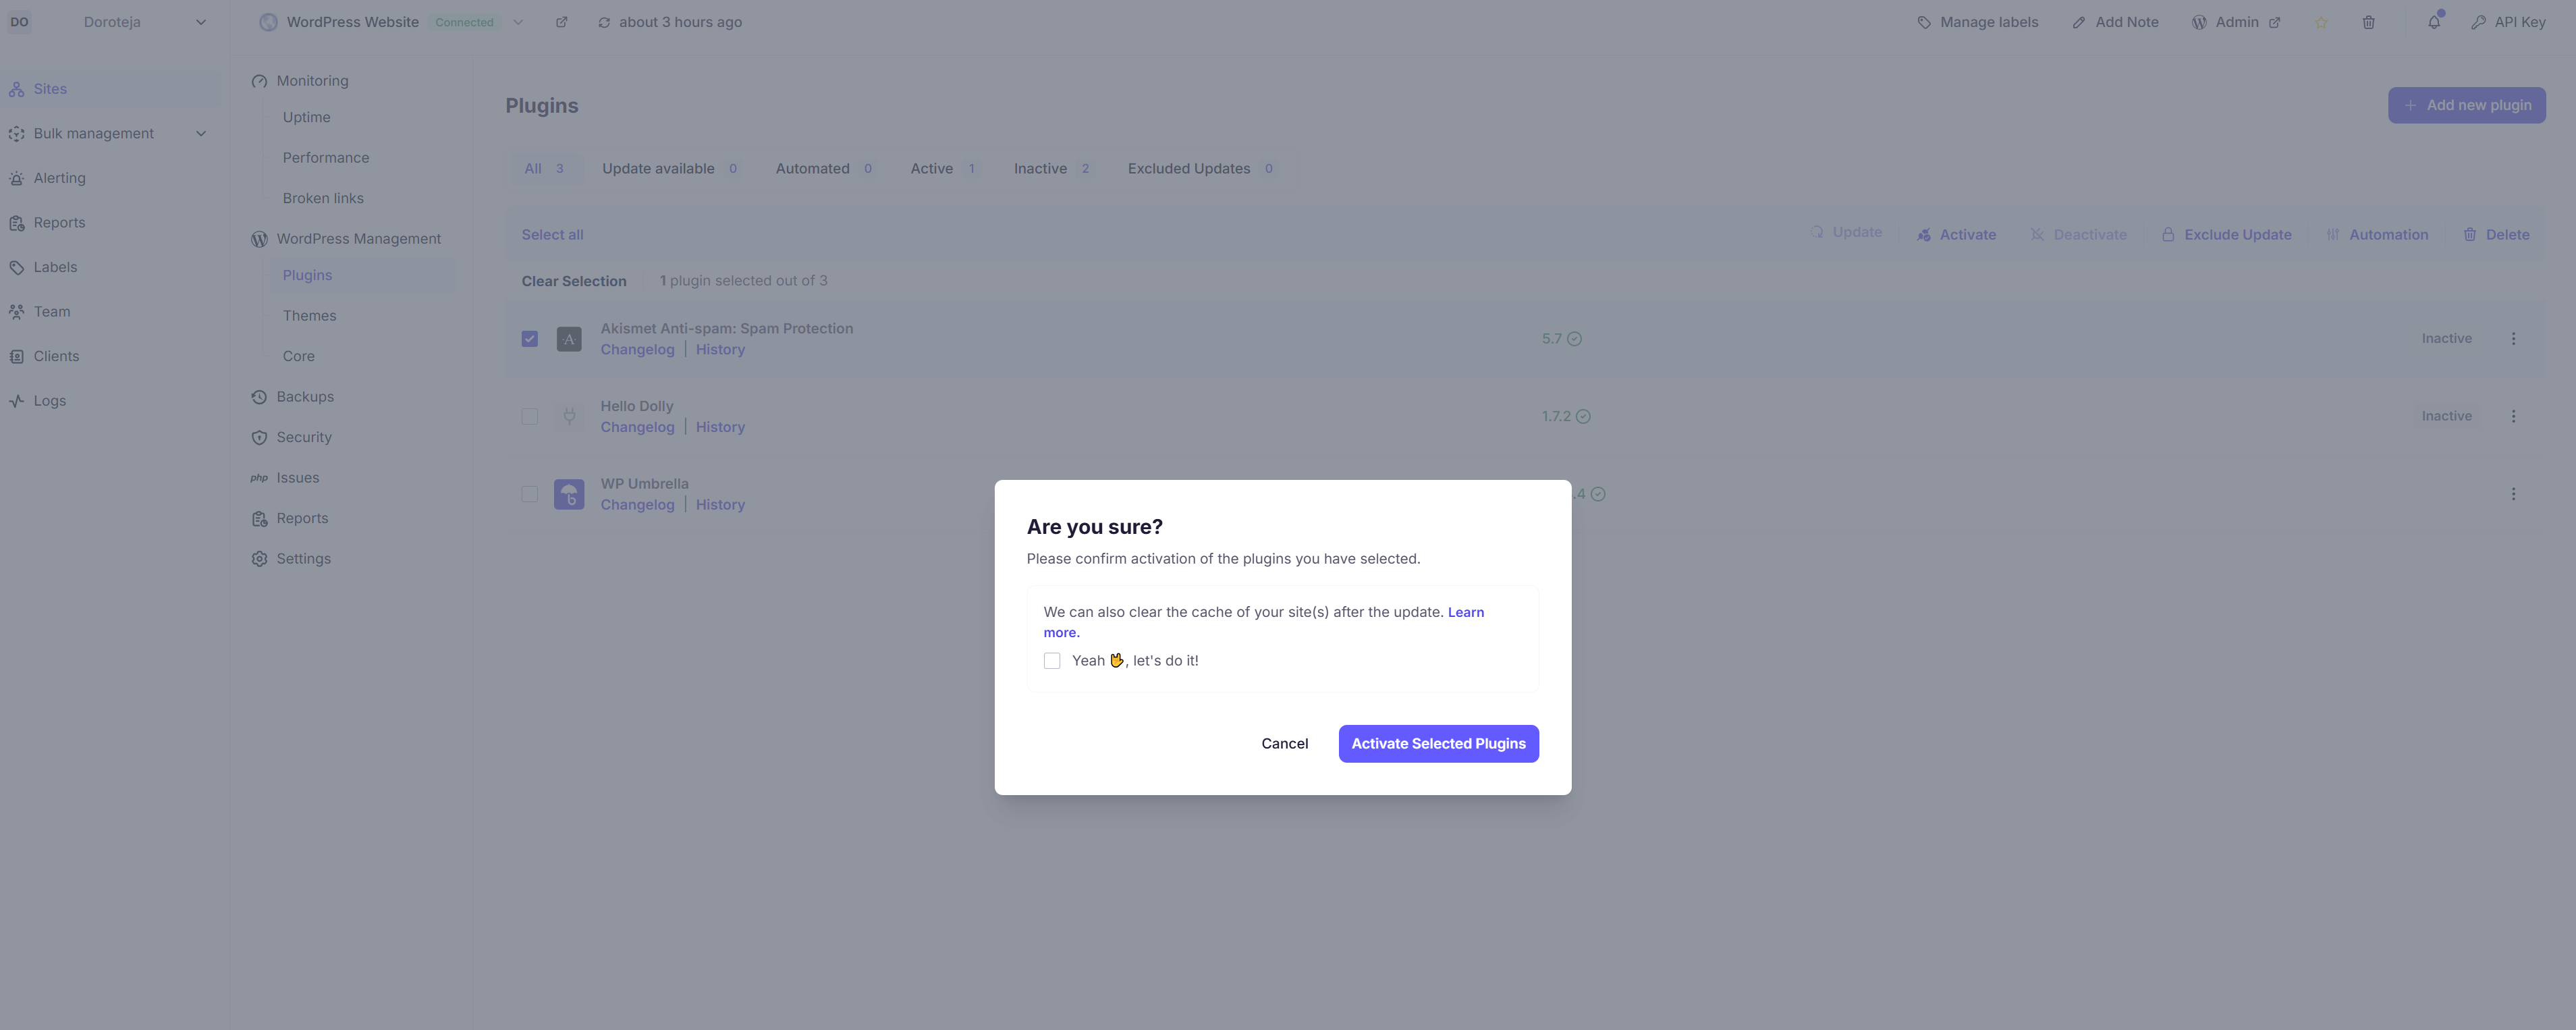
At this point, you can also clear your site’s cache to prevent any leftover data issues by checking the box.
To Activate Plugins:
Click Activate.
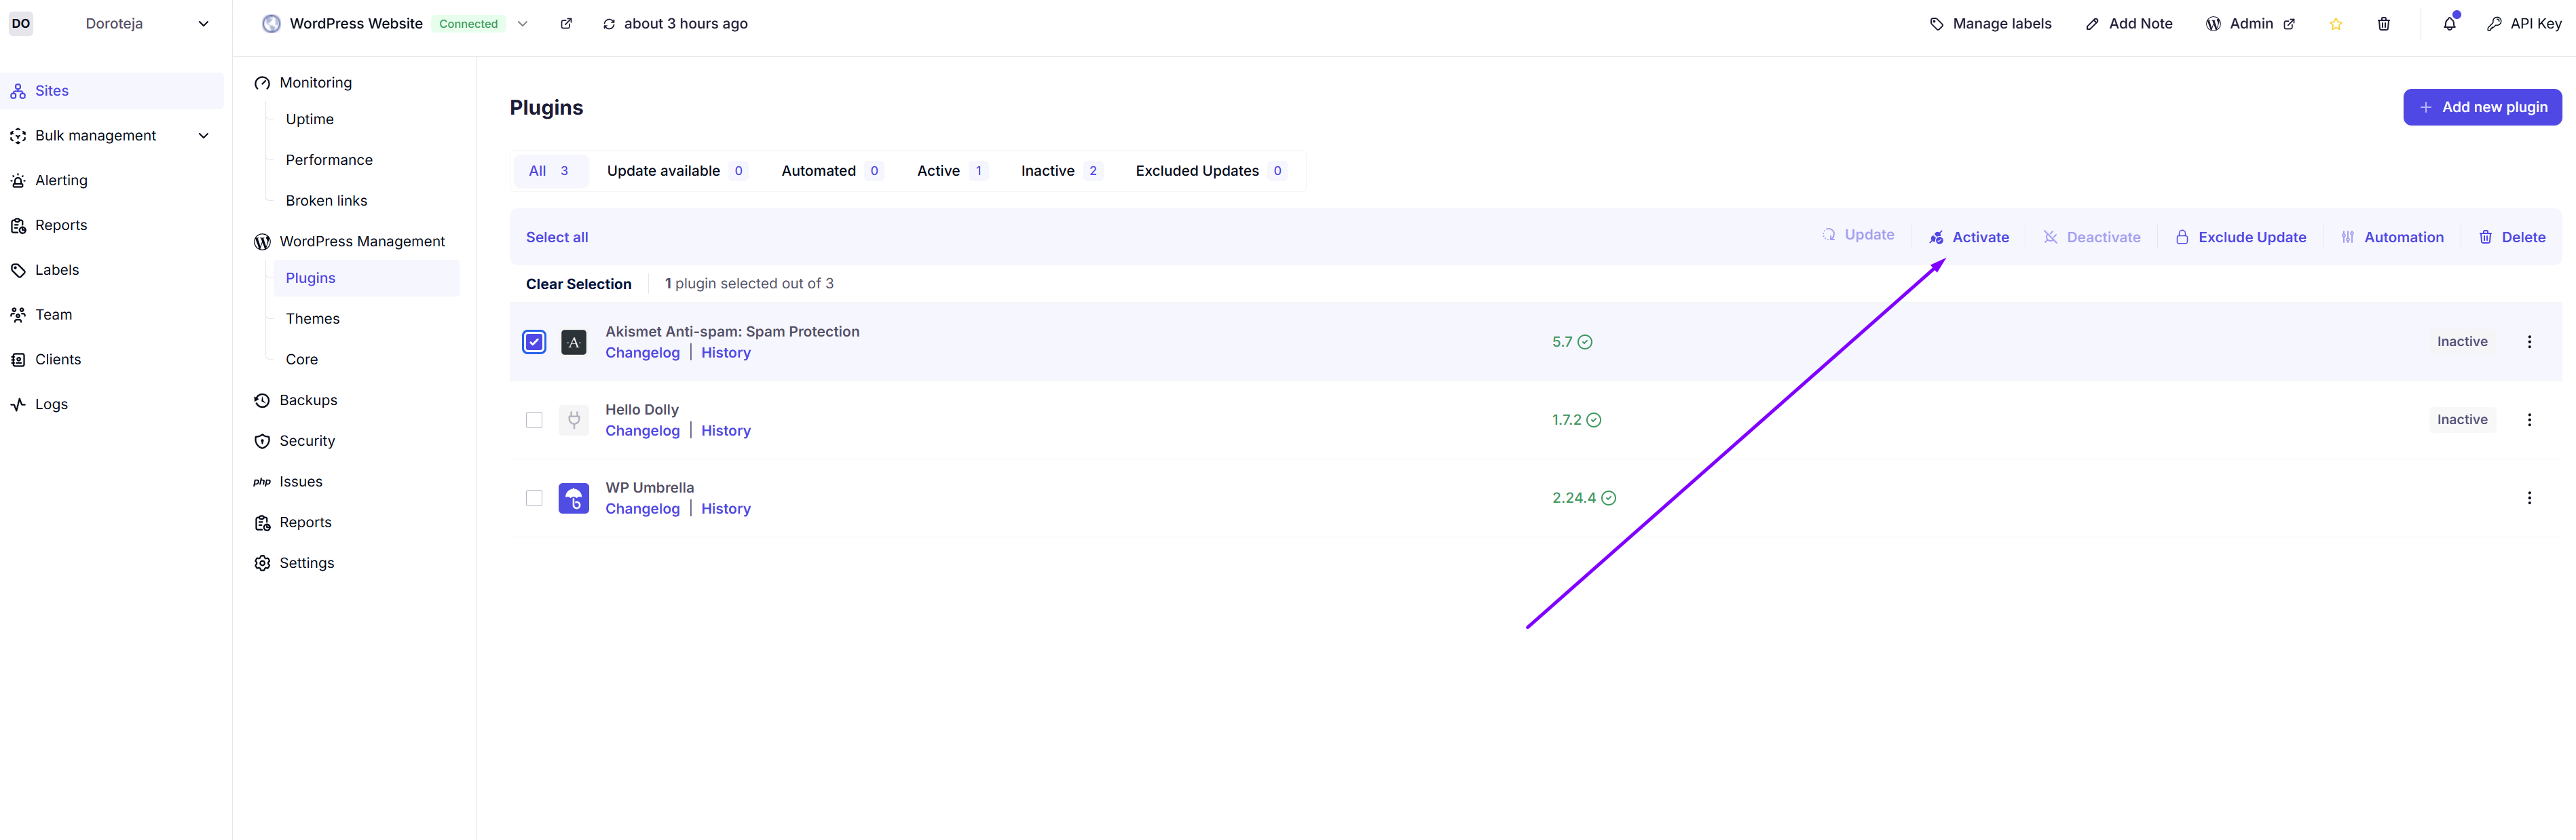
Confirm by clicking Activate Plugin.
1. I don’t see the plugin I want to manage. Why?
Ensure WP Umbrella is properly connected to your WordPress site and the plugin is installed. Refresh the page if needed.
2. Can I activate/deactivate multiple plugins at once?
Yes! Check multiple plugins in the list before clicking Activate or Deactivate.
3. Will deactivating plugins break my site?
Deactivating some plugins can affect site functionality. If unsure, back up your site first or consult with your developer.
4. What happens if I don’t clear the cache?
Some changes might not reflect immediately if the cache isn't cleared. It’s recommended to allow WP Umbrella to handle this step automatically.
🎉 That’s it! You’ve now learned how to easily activate or deactivate plugins from WP Umbrella—right from your dashboard. No more jumping into multiple WordPress admin panels! If you have any questions or need help, our friendly support team is always here for you. Happy managing! 🙌
