When WP Umbrella connects to your website, it automatically uses your website title as the project name. But if you want to customize this name—whether for better organization or clarity—you can quickly edit it right from your dashboard.
Estimated Time to Complete: Less than 1 minute
Prerequisites: A WP Umbrella account with at least one linked website
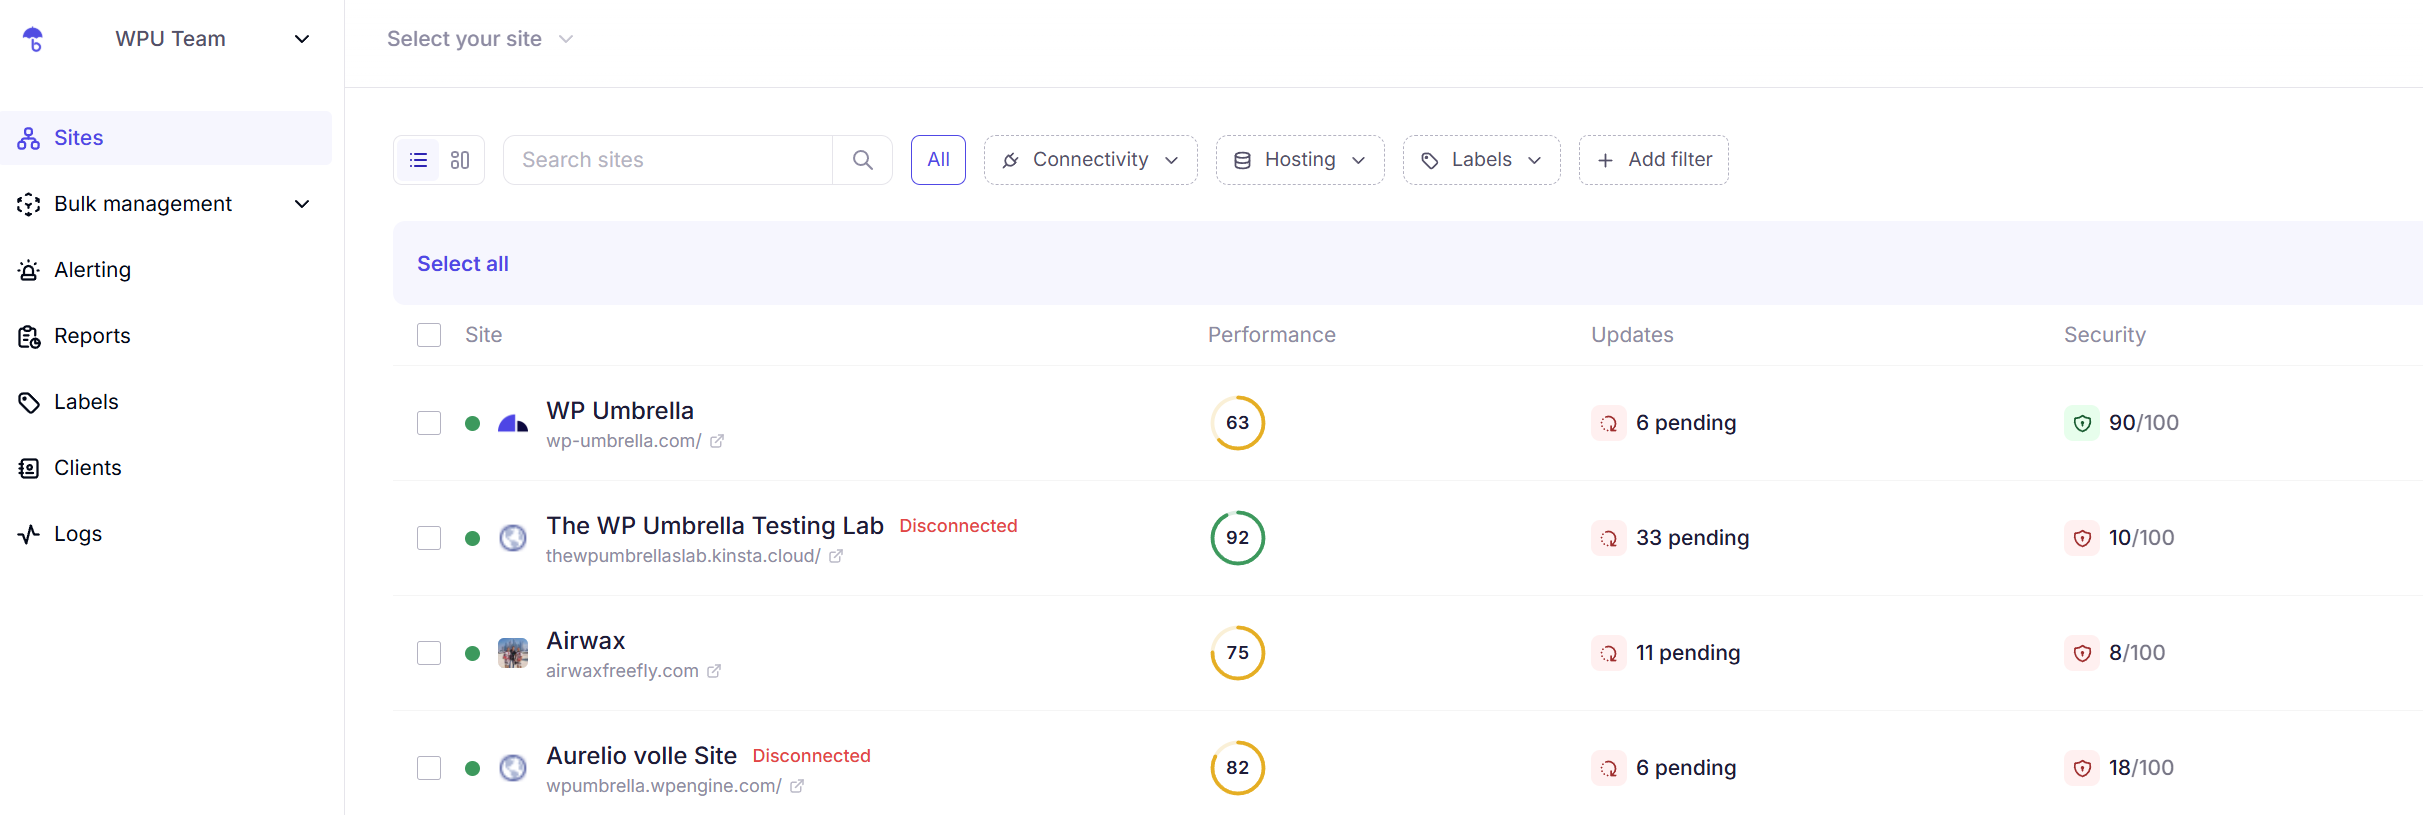
Log in to your WP Umbrella account and click the project name you wish to edit.
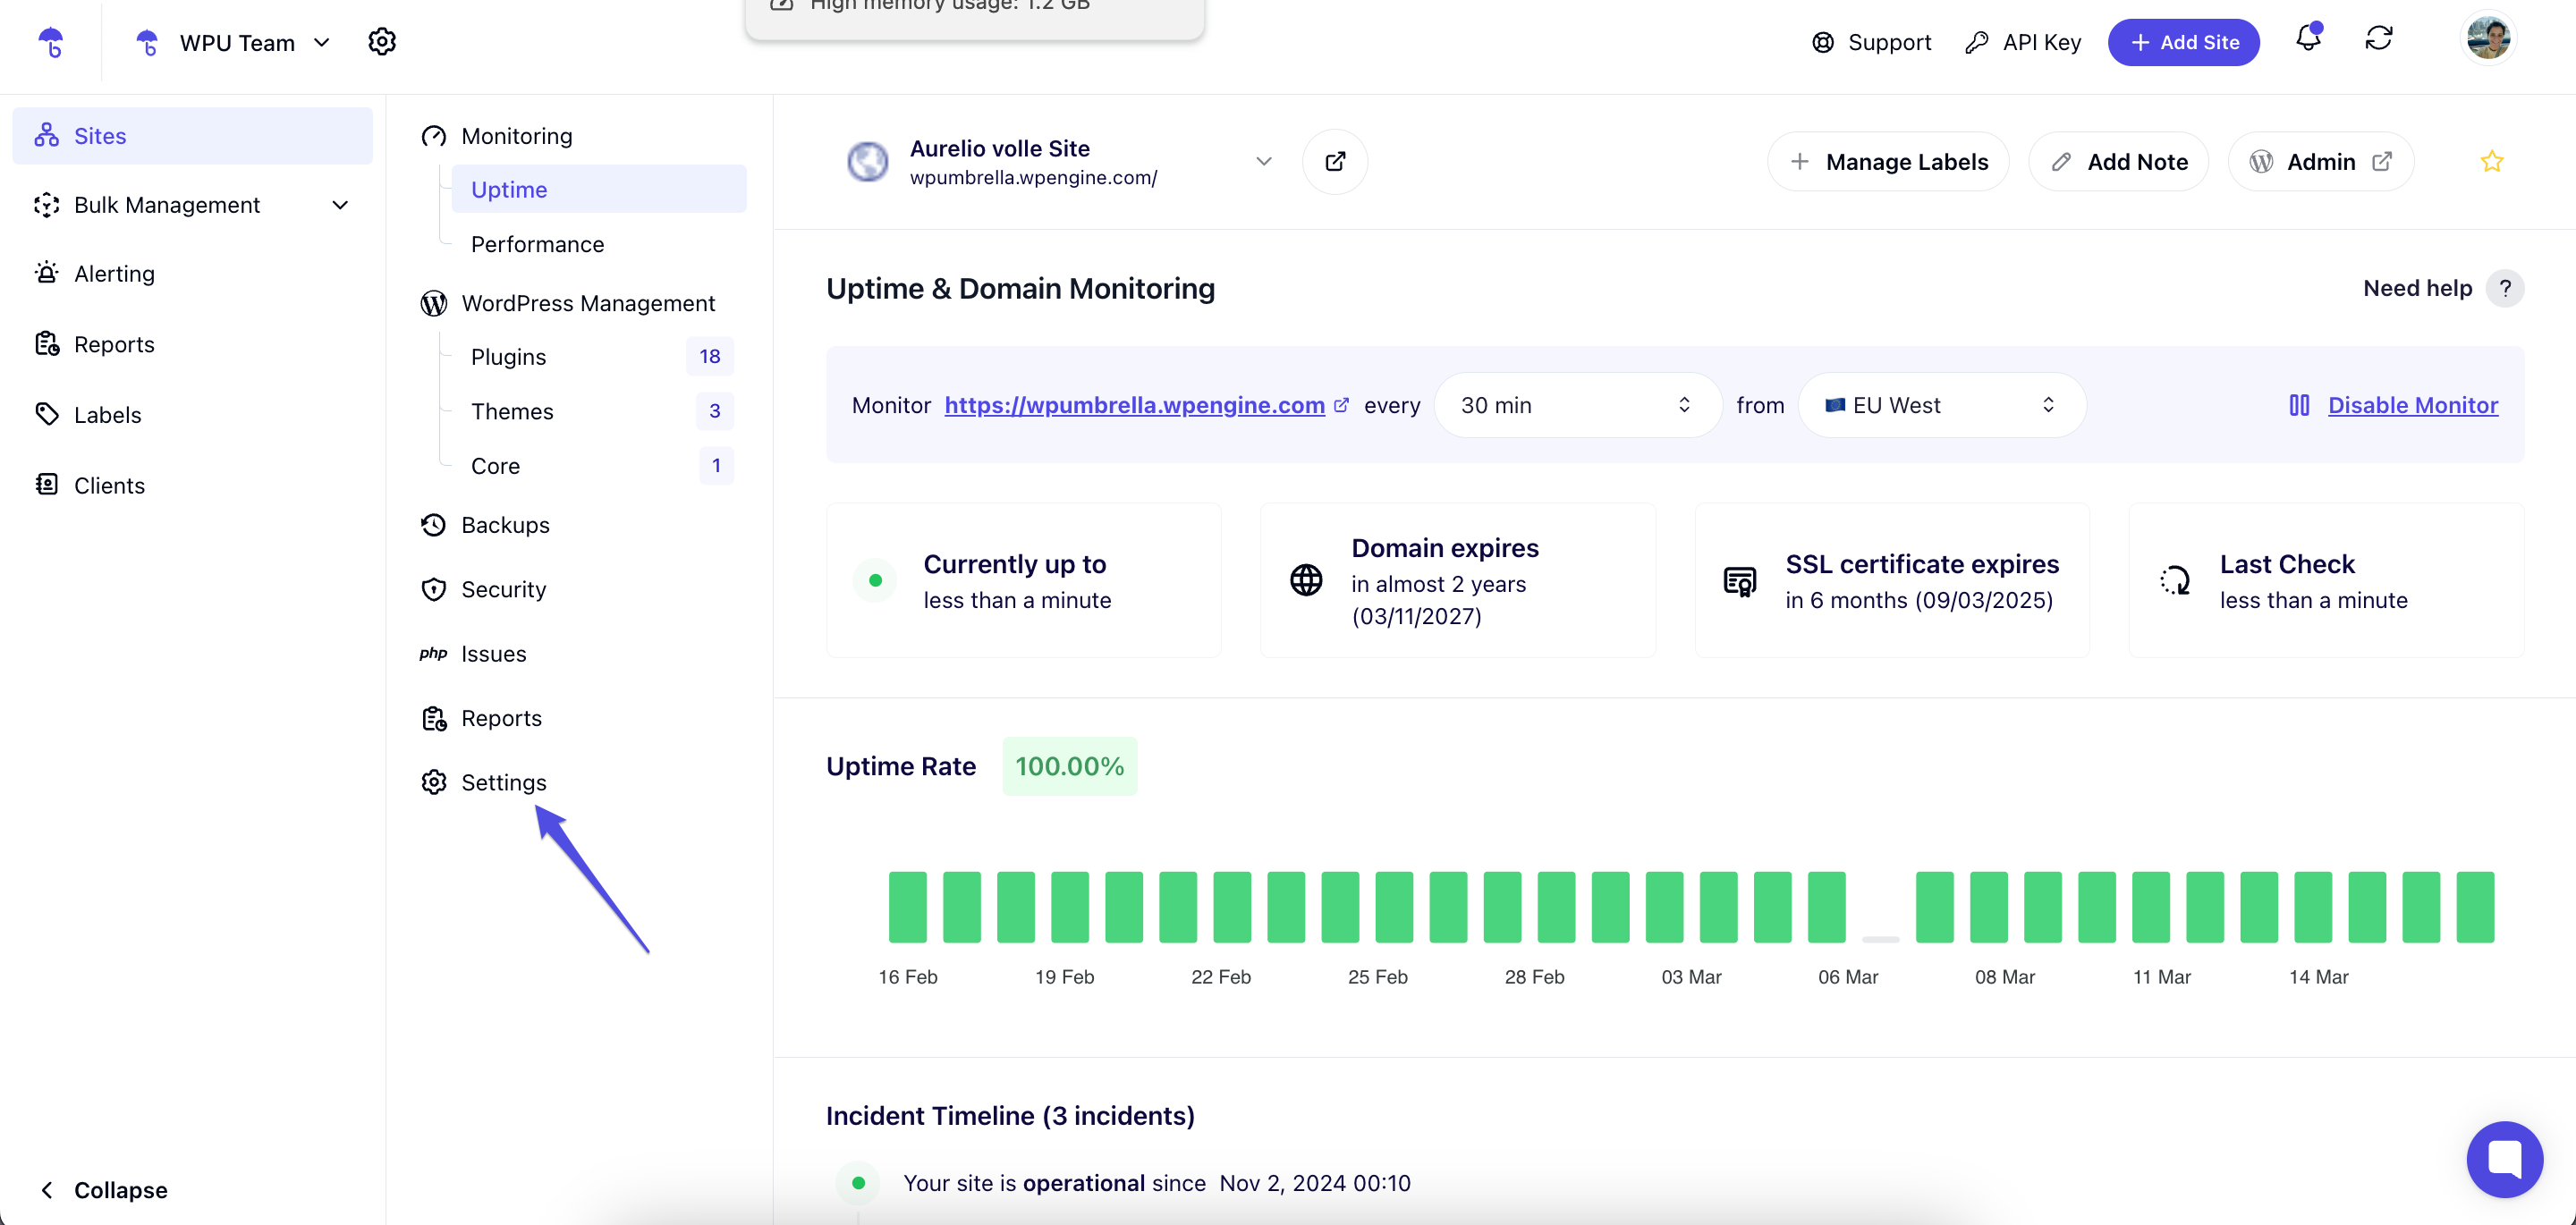
Once inside the project, click the Settings tab to open the project settings page.
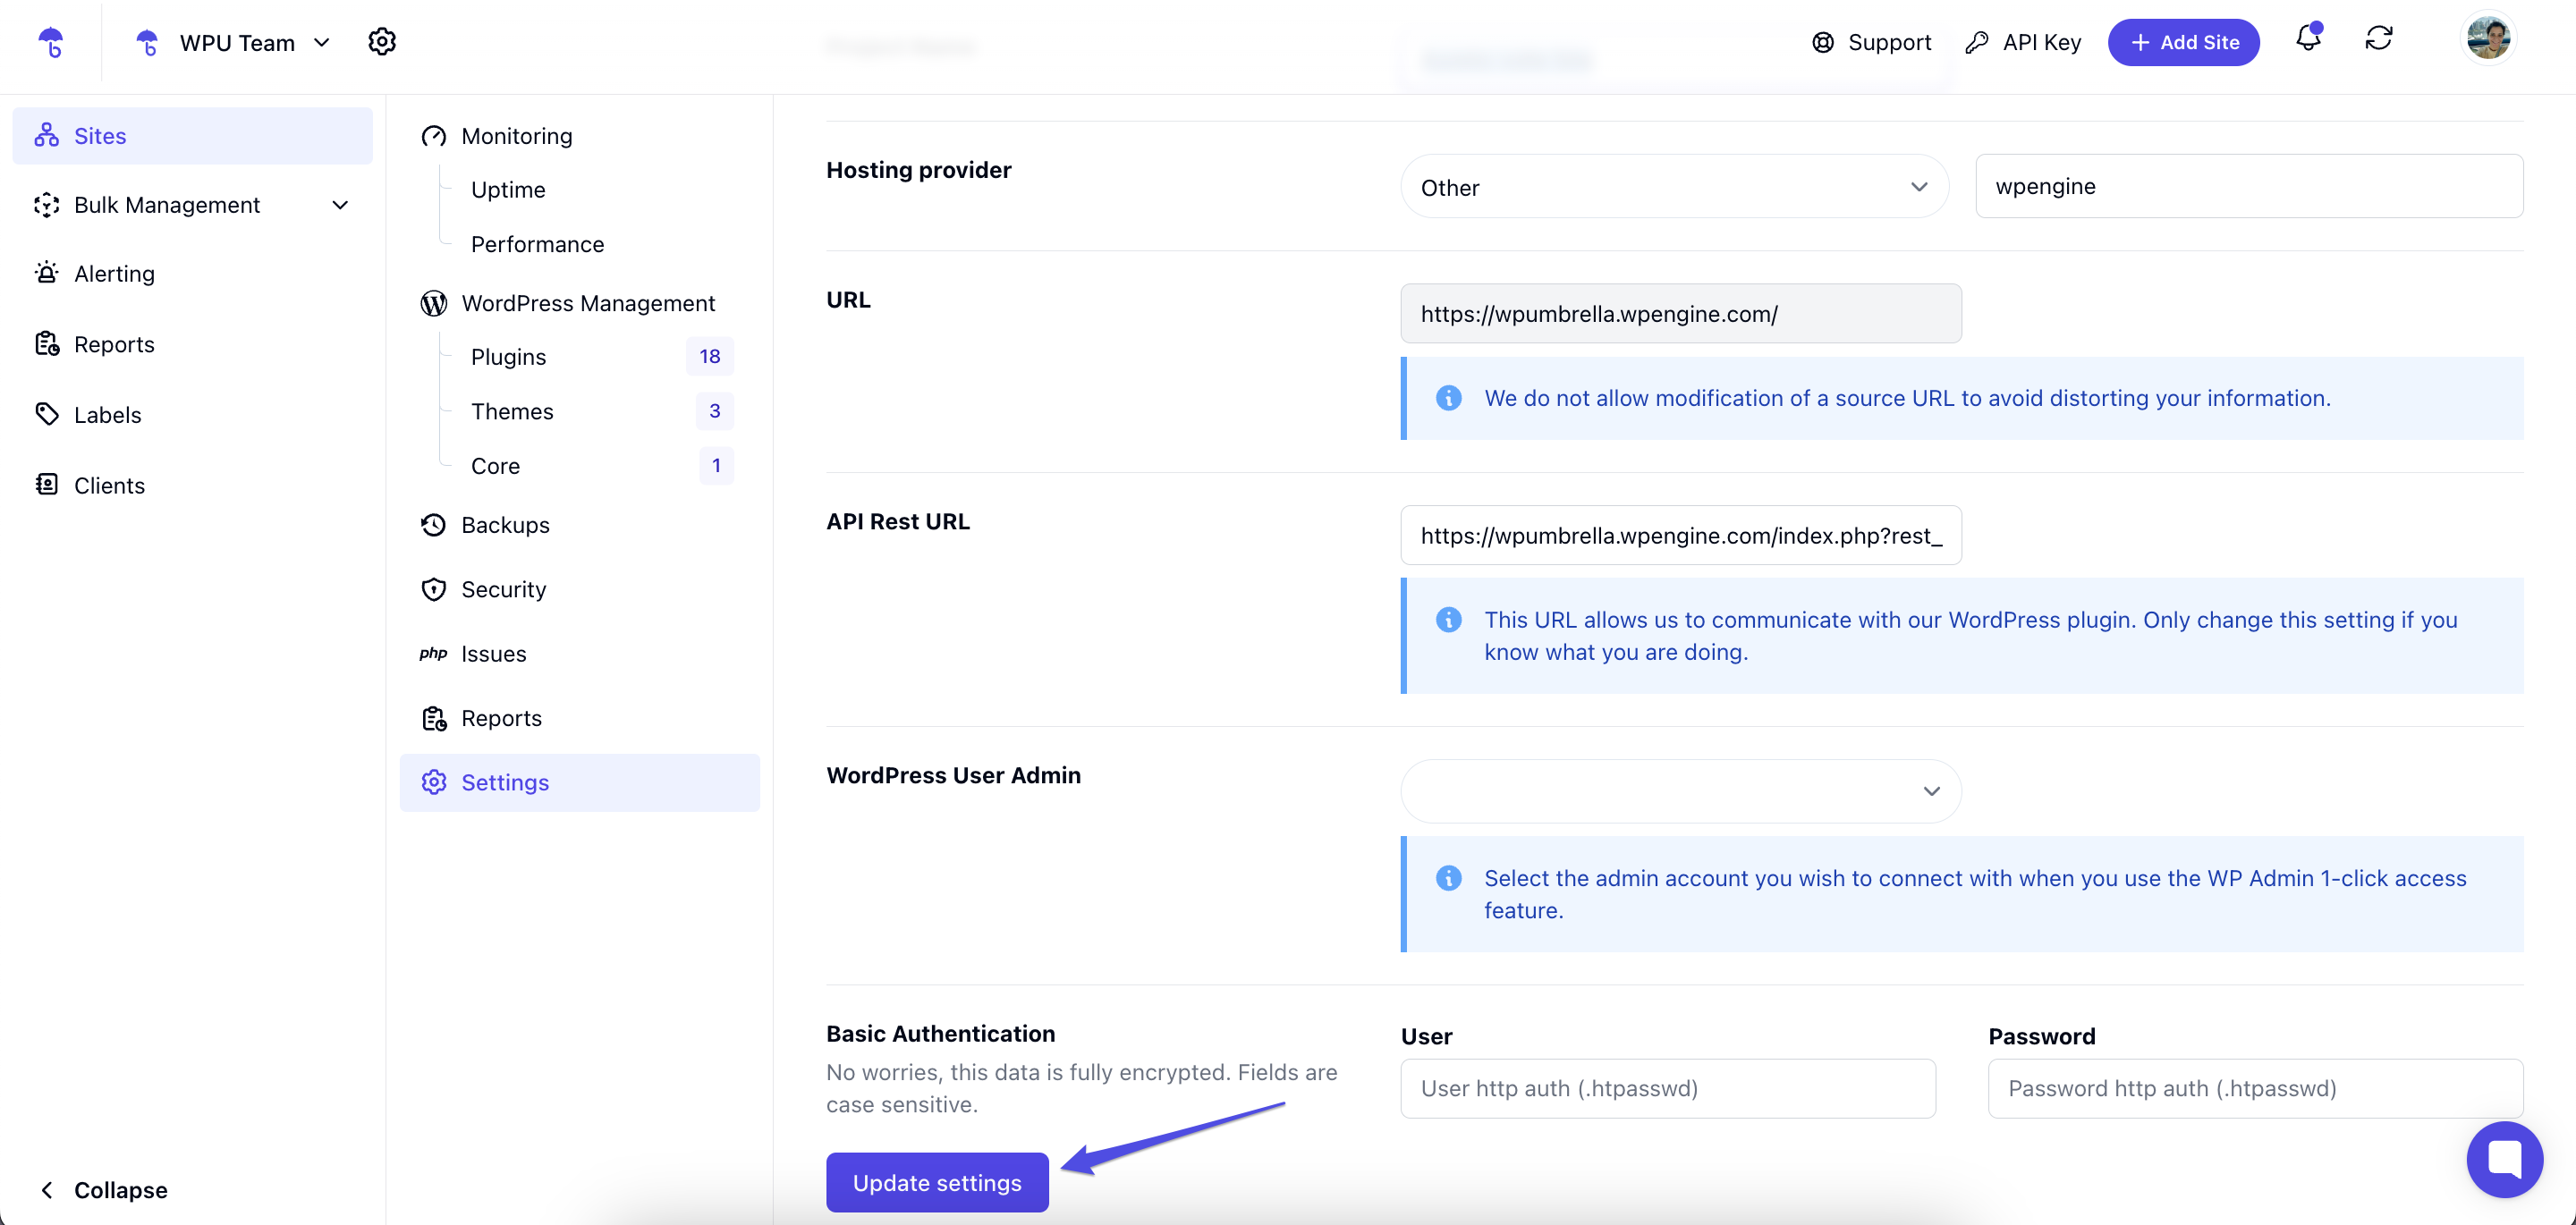
Locate the Project Name field.
Edit the name as desired.

Click Update Settings to save your changes. ✅
1. Why can't I find the Settings tab?
Make sure you have selected the correct project first—only then will the Settings tab appear.
2. Will changing the project name affect my site?
No, changing the project name only affects how it appears in WP Umbrella—it does not impact your website or its settings.
3. Can I revert to the original name?
Yes! You can always manually set the project name back to your website title or any other preferred name.
🎉 That's it! You've now updated your project name in WP Umbrella, making managing and organizing multiple sites easier. If you run into any issues, don’t hesitate to reach out to our support team. Happy managing! 🙌
