WP Umbrella isn't just a monitoring and backup tool; it's also a functional CRM that helps you manage your clients efficiently. By adding clients directly to WP Umbrella, you can personalize reports with dynamic variables, making interactions more meaningful. A personalized touch can go a long way in strengthening client relationships! 😊
🕒 Estimated Time to Complete: 2 minutes
✅ Prerequisites: Access to your WP Umbrella dashboard
Log in to your WP Umbrella dashboard, go to the Client Management section, and click Add Client.
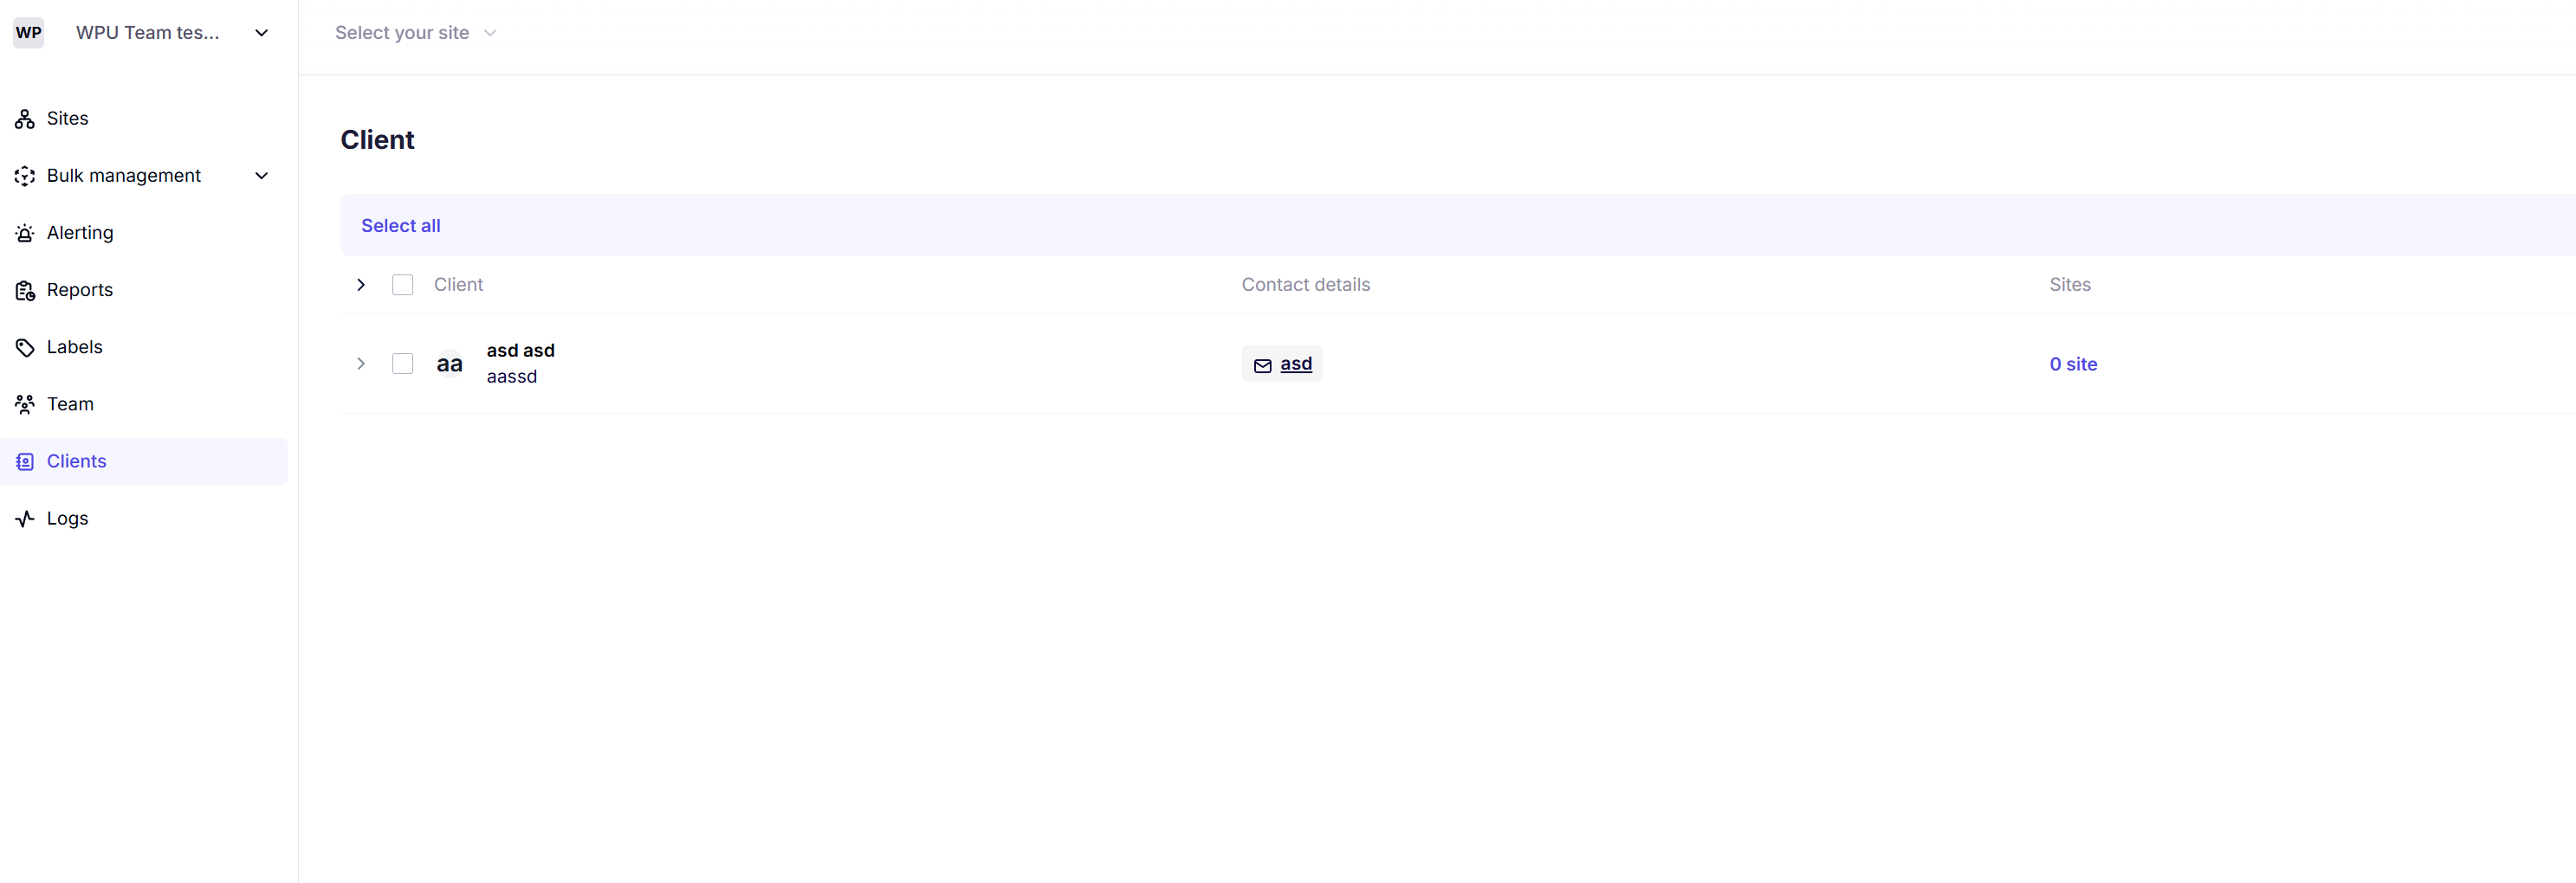
A form will appear—enter the necessary information about your client. Ensure accuracy, then click Save.

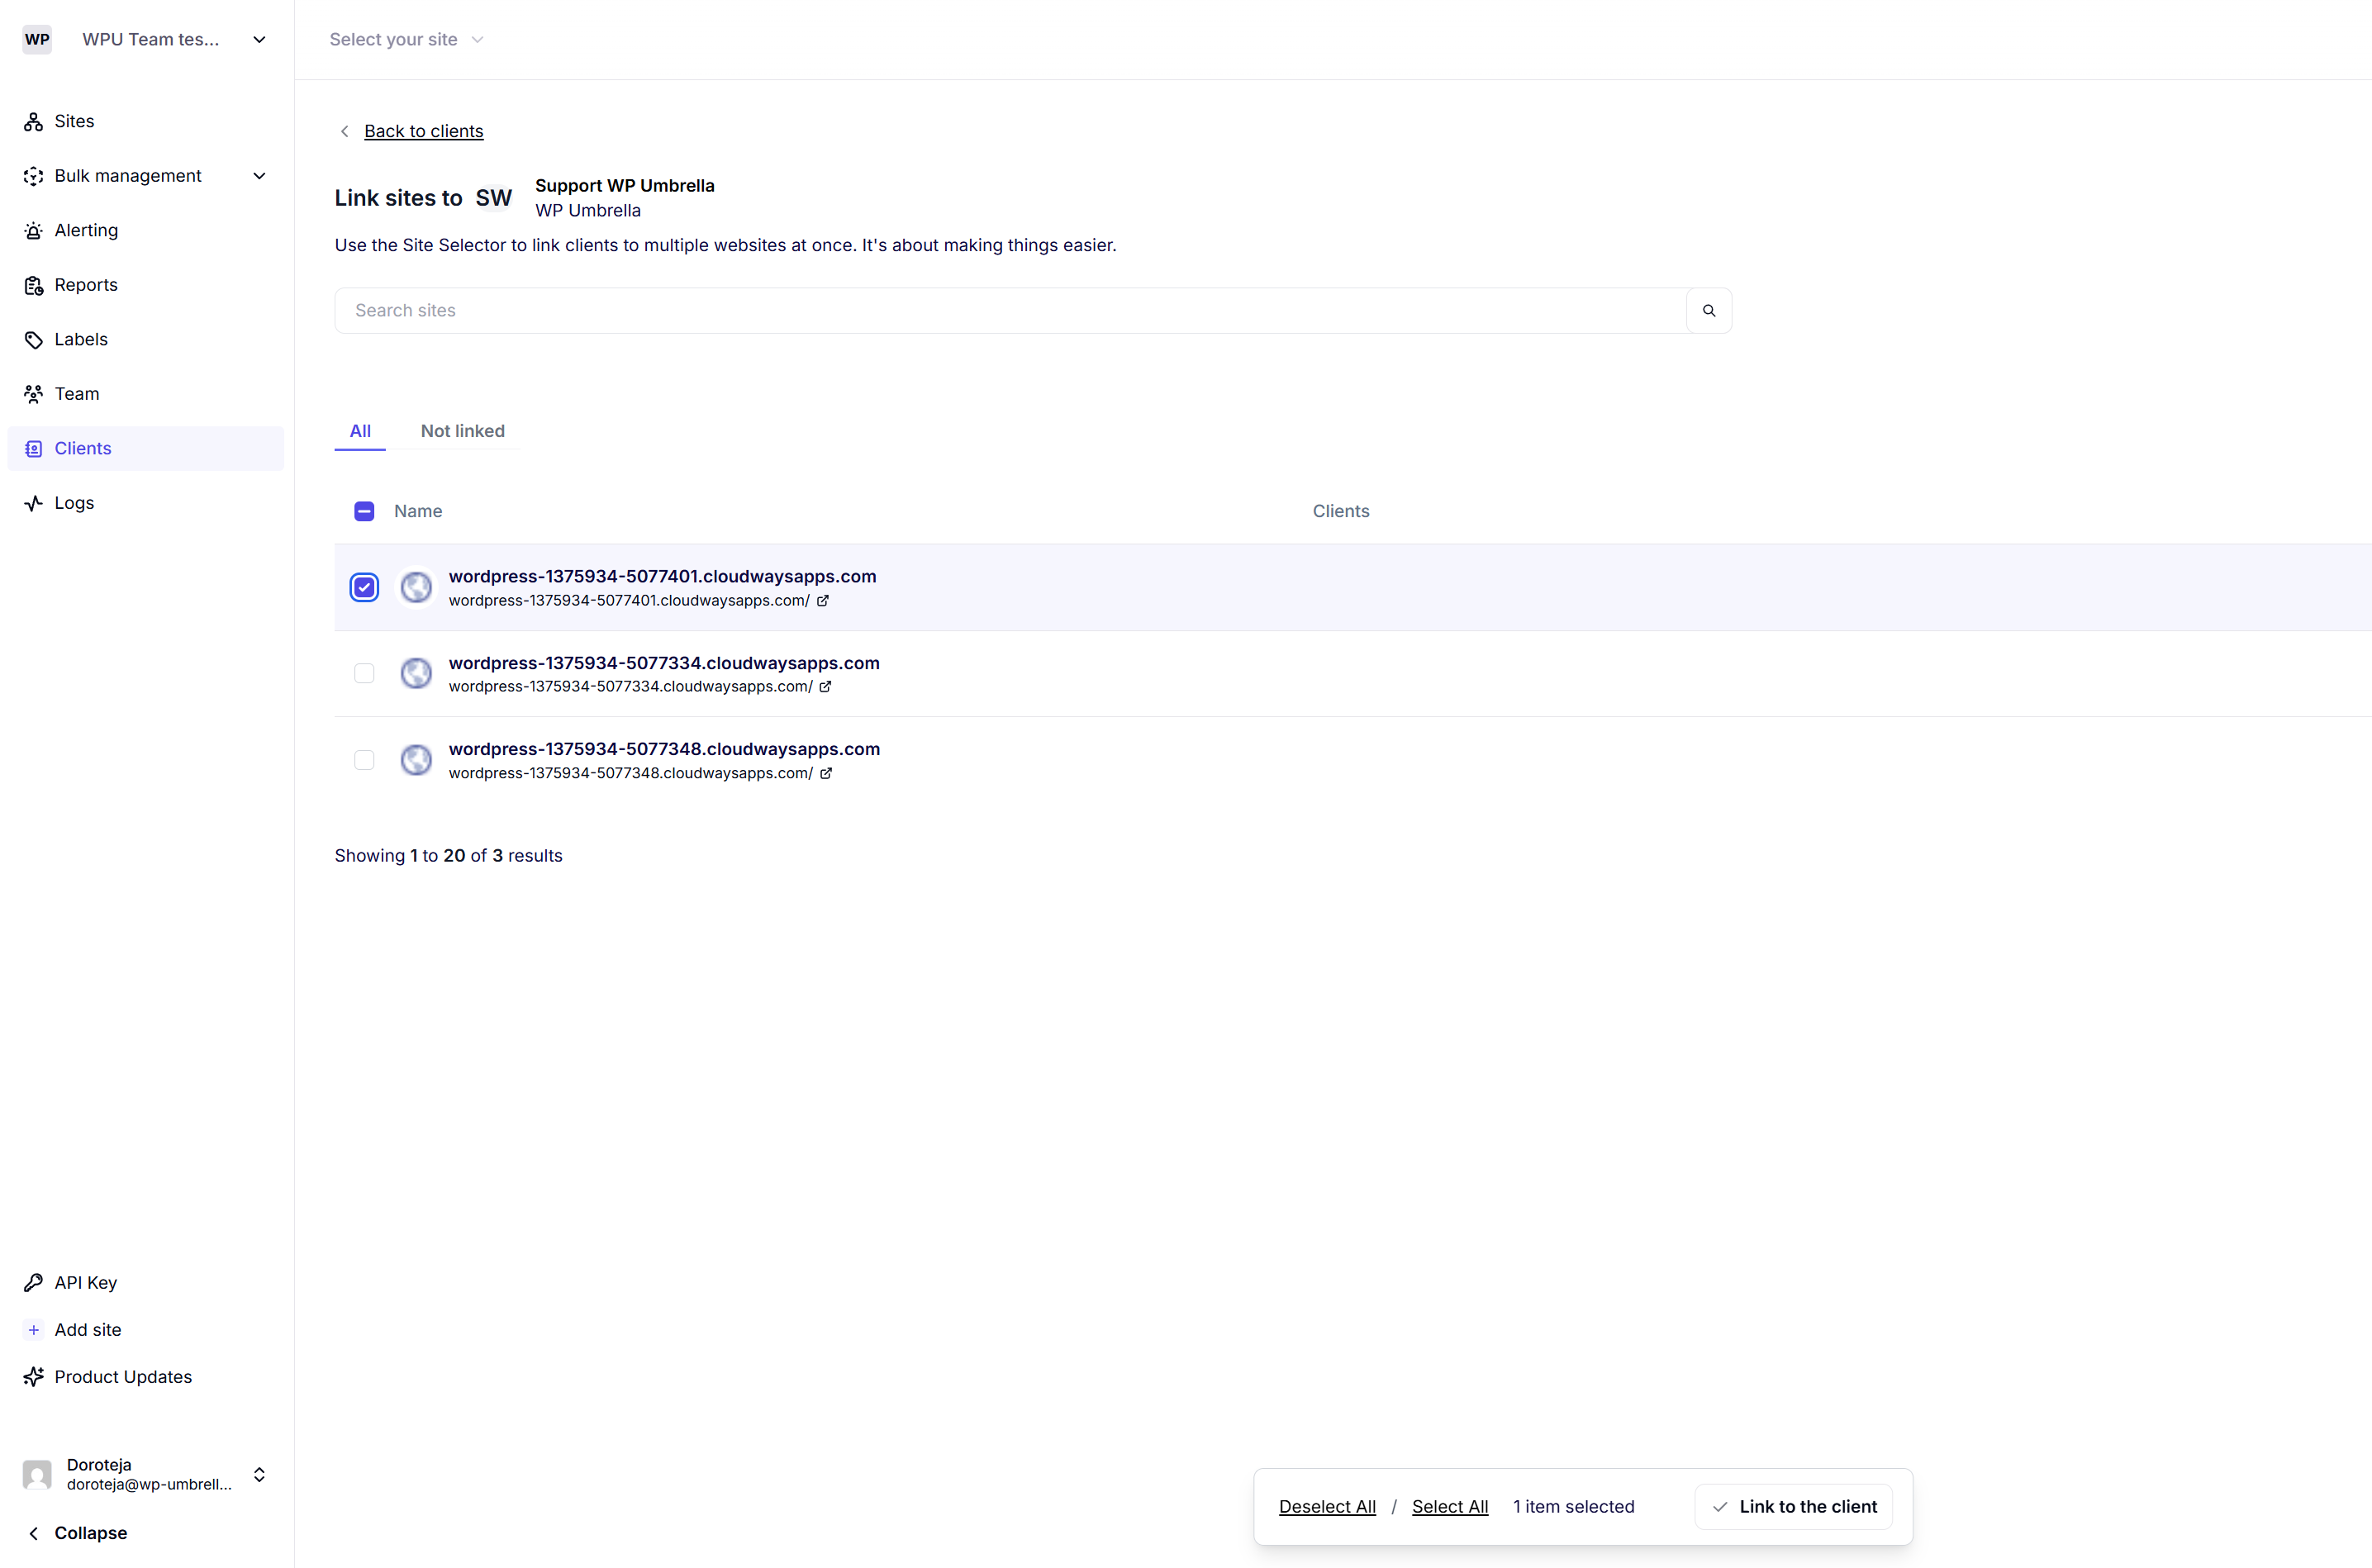
Assign one or multiple websites to your client as needed. This helps in organizing and generating personalized reports.
And voilà! 🎉 Your client is now added to WP Umbrella, allowing you to personalize reports with their data using dynamic variables.
Ensure you're in the Client Management section. If you still can’t find it, try refreshing the page or logging out and back in.
Yes! You can always update client information by selecting the client from the list and editing their details.
Go to the Client Management section, find the client, and click the delete option. Keep in mind that deleting a client is permanent.
Check if the website is already assigned to another client. If needed, unassign it first before reassigning it.
Great job! 😊 You’ve successfully added a client to WP Umbrella and can now provide a more personalized experience. This feature helps streamline your reporting process and strengthens client communication. Happy managing!
